Removing tags in bulk allows you to clean up or reorganize contact data quickly. This is especially helpful when contact segmentation needs to be updated, campaigns have ended, or irrelevant tags are cluttering your CRM. Rather than editing each contact individually, bulk removal ensures swift and consistent updates.
Bulk tag removal streamlines CRM maintenance and ensures clean, accurate contact segmentation. Here’s why it’s valuable:
Save time by removing tags from many contacts in one go
Eliminate outdated or incorrect tags that impact automations
Maintain a well-organized contact tagging structure
Reduce confusion by clearing unused or overlapping labels
Support accurate reporting by removing invalid groupings
This section walks you through how to remove tags from one or more contacts directly from the Contacts page.
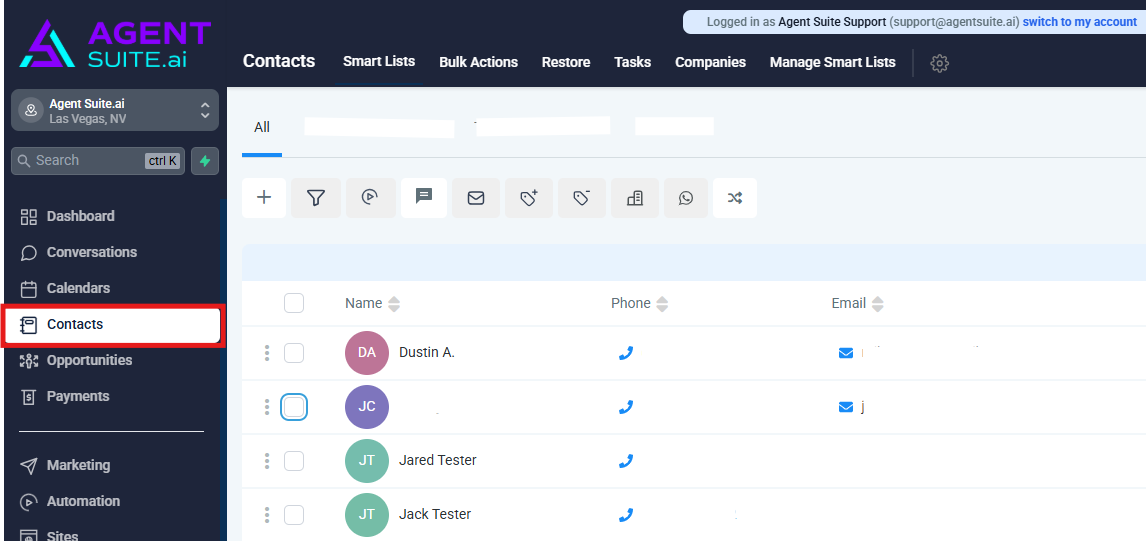
From the left-hand navigation menu in your dashboard, click on Contacts to access your contact list.
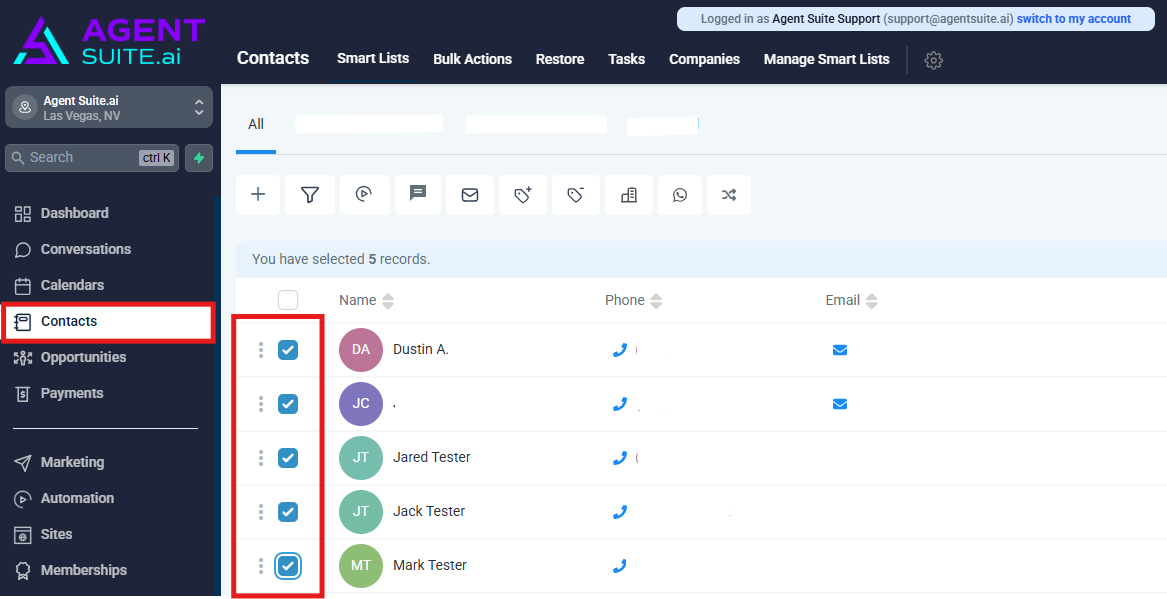
Use the checkboxes on the left to select the contacts you’d like to remove tags from. You can select individual records or use filters to narrow down groups.
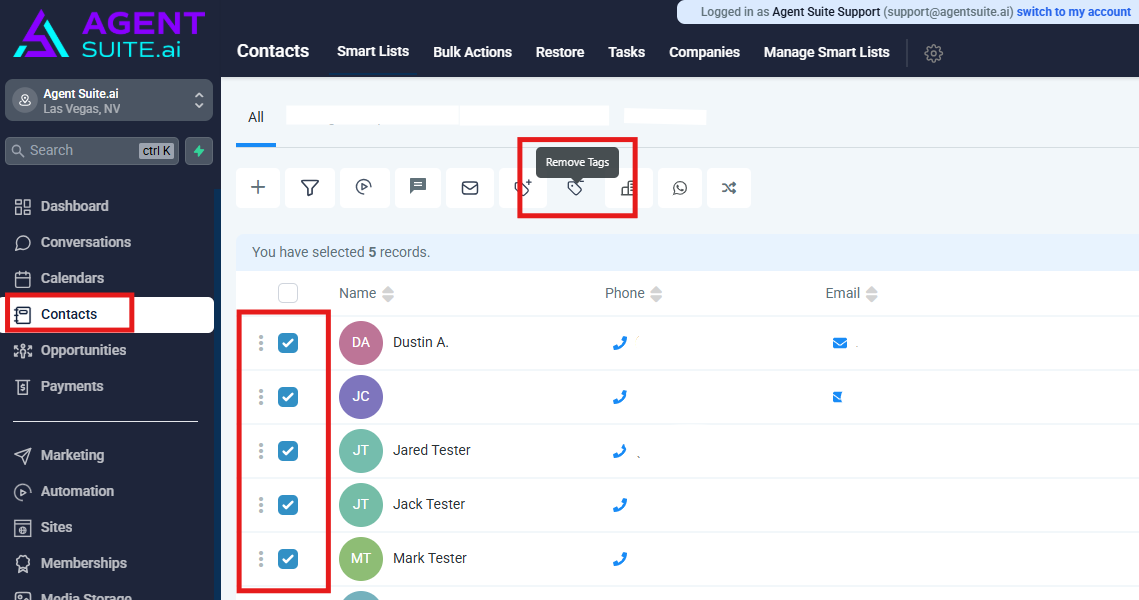
With your contacts selected, click on the Remove Tags icon located in the top action bar. This opens the bulk action panel for tag removal.
In the pop-up that appears, enter an Action Name for this operation. This will help you identify the action later in the Bulk Actions dashboard.
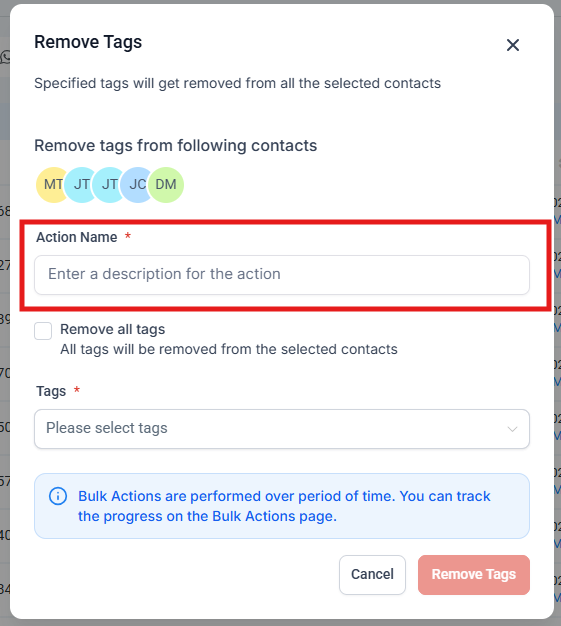
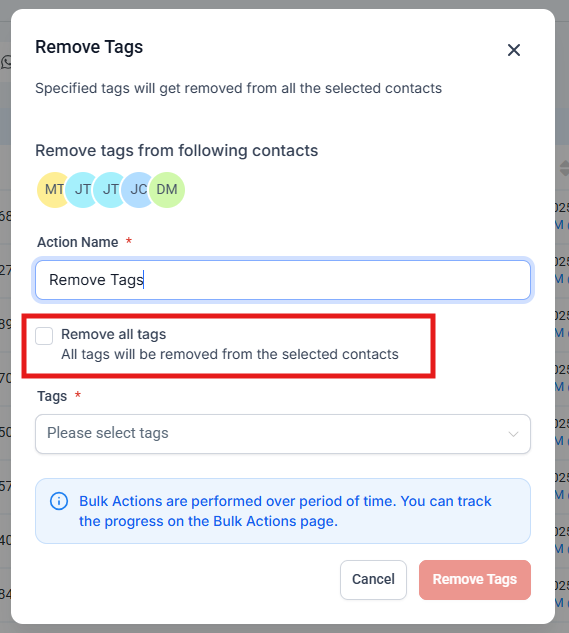
If you want to completely clear all tags from the selected contacts, check the Remove all tags box. This option removes every tag associated with those contacts—no need to specify which ones. It’s ideal for cleanup tasks or when you want to start fresh with a new tagging structure. Be sure you want to remove all tags before enabling this, as it clears everything in one go.
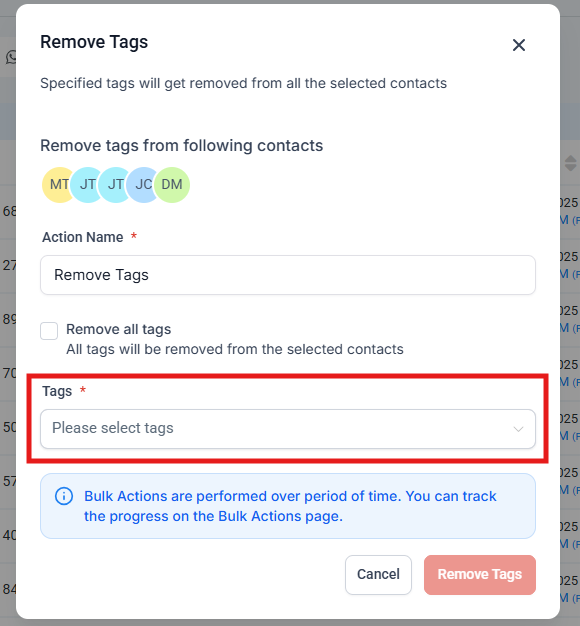
Use the Tags dropdown to choose one or more tags you’d like to remove from the selected contacts. The list will show all existing tags, and you can scroll or search to find the right ones. This is helpful when you want to remove only specific tags while keeping others intact. Be sure not to select the “Remove all tags” checkbox if you only want to remove selected tags.
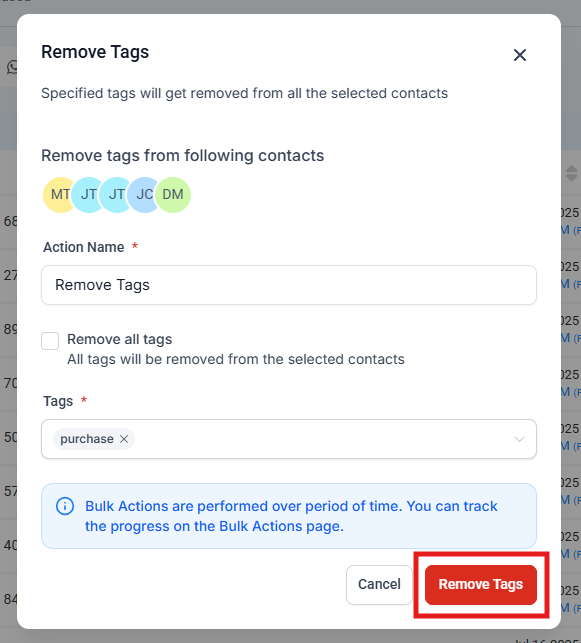
Once your tags or tag removal preference is selected, click the Remove Tags button to begin the process. A pop-up message will confirm that the operation has started.
After you submit the action, the system displays a confirmation. Click on Check Progress to track the real-time status of the bulk action.
The Bulk Actions dashboard logs all tag removal tasks. You’ll see the operation name, time initiated, completion time, and a Show Stats link for detailed results including contact-level success.