
Follow these steps to add or remove columns in the Contacts view:
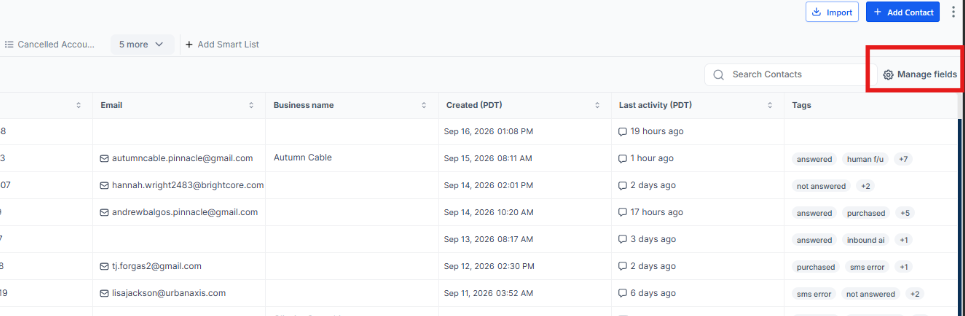
Go to Contacts. You can select All contacts or choose any Smart List you want to edit.
At the top of the table, click the Column/Table icon on the right.
If you don’t see the Column/Table option, search for Manage Fields instead.
In the column manager:
Add columns by selecting the fields you want to display.
Remove columns by deselecting the fields you don’t want to display.
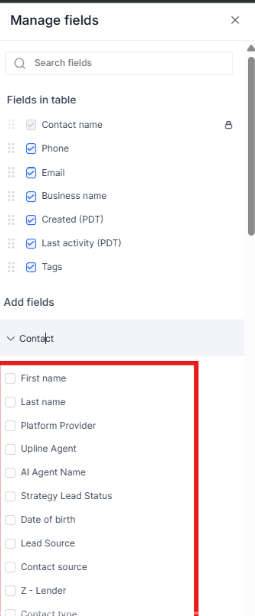
Once you’ve made your changes, click the Apply button.
Save the Smart List to keep your changes.