
Step-by-Step Process
1. Access the Rebilling Tab
Go to the Rebilling tab in your workspace navigation.
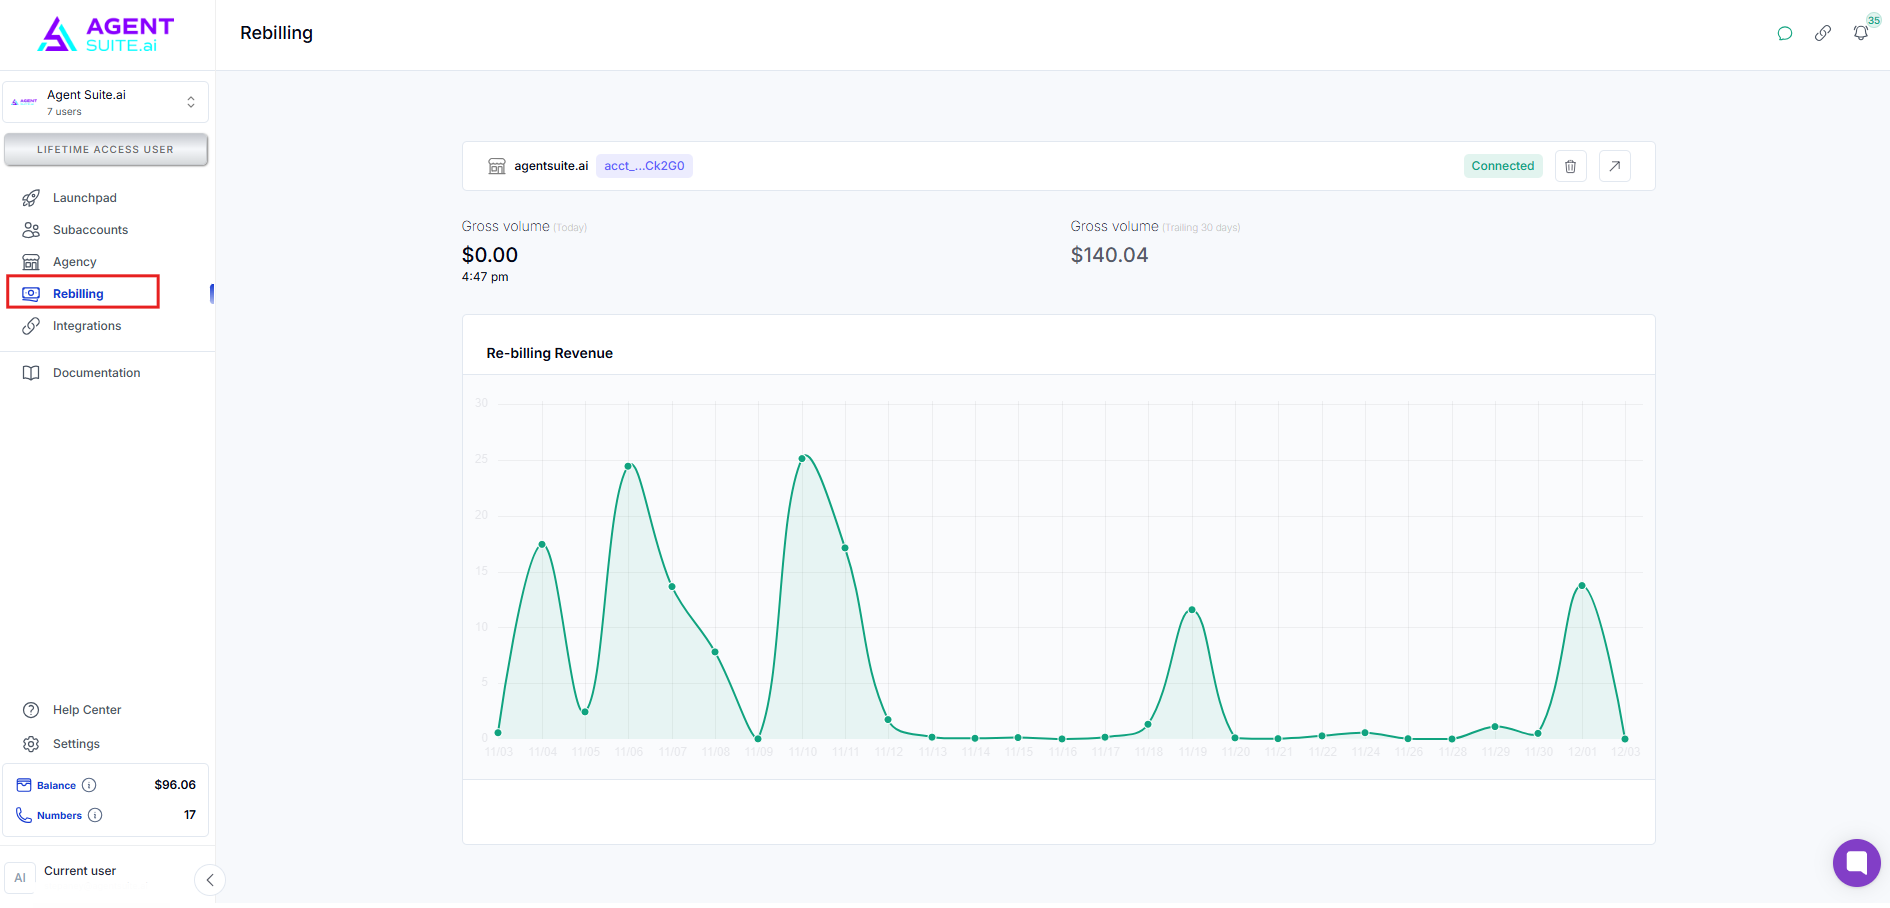
2. Check for Existing Connection
If there's an existing Stripe connection, you can either:
Break the connection from the Rebilling tab
Or go to the Integrations tab to do the same
3. Break the Existing Connection (if needed)
Click the option to Break Connection.
This will not affect previously saved billing data.
You’ll be returned to a screen prompting a new connection setup.
4. Start Stripe Connection
Click Connect to Stripe.
A Stripe OAuth modal will open in a new window.
5. Select the Stripe Account
Choose the appropriate Stripe account (e.g., DropFlow or DropBuild).
Click Connect.
6. Confirm and Complete Integration
Stripe will redirect you back to the OAuth confirmation page.
Once confirmed, you'll return to your workspace.
You’ll now see the active Stripe connection displayed under the Rebilling tab.
FAQs
Q1: Will breaking the Stripe connection delete existing billing data?
No, it only resets the connection. All existing billing history remains untouched.
Q2: Where can I connect to Stripe – Rebilling or Integrations tab?
Either tab works. The process is identical in both.
Q3: What if the OAuth modal doesn't load?
Check your pop-up blocker or try in a different browser.