🔗 https://bots.agentsuite.ai/access
Make sure you click the invite link sent to your email and it will open up the Voice AI portal > create a password.
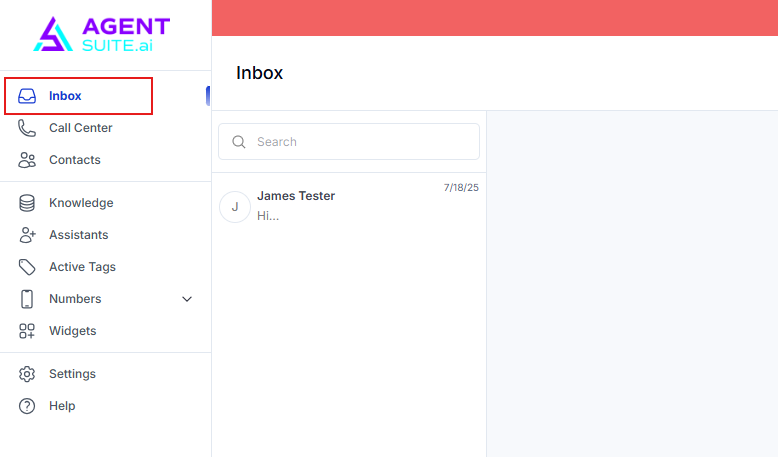
Inbox
where you'll see all messages received through your inbound phone number, which is connected to your AgentSuite account.
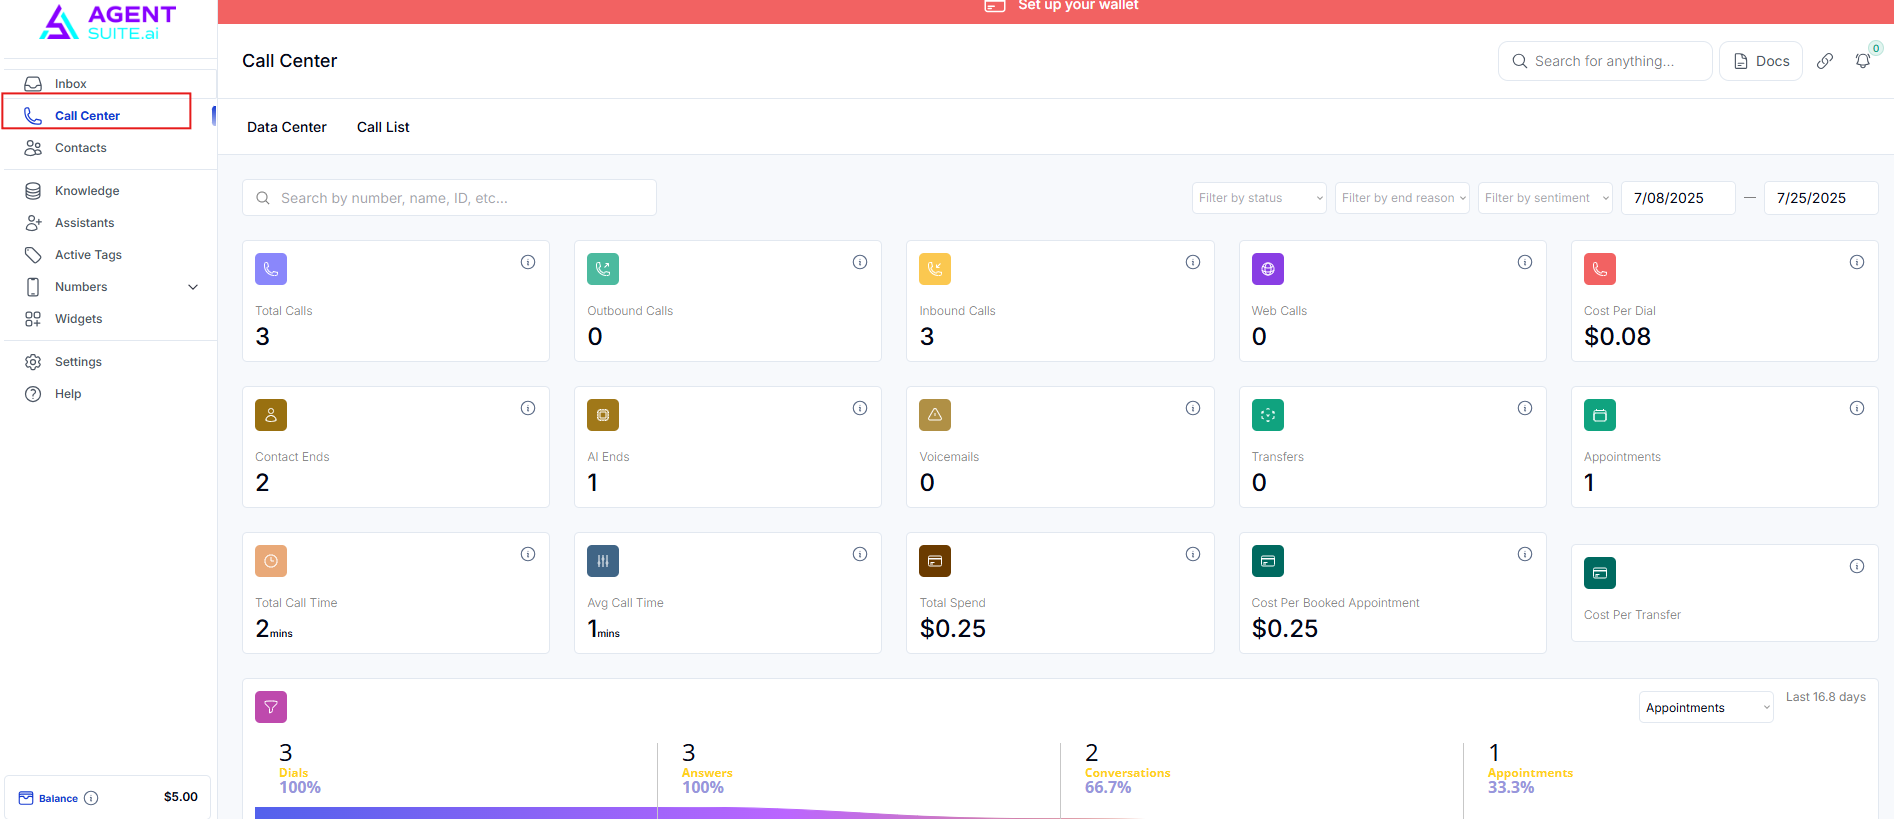
Call Center
It will take you to a dashboard that summarizes the call activity. This is where you can see how many calls were made, total call charges, how many appointments were booked, etc.
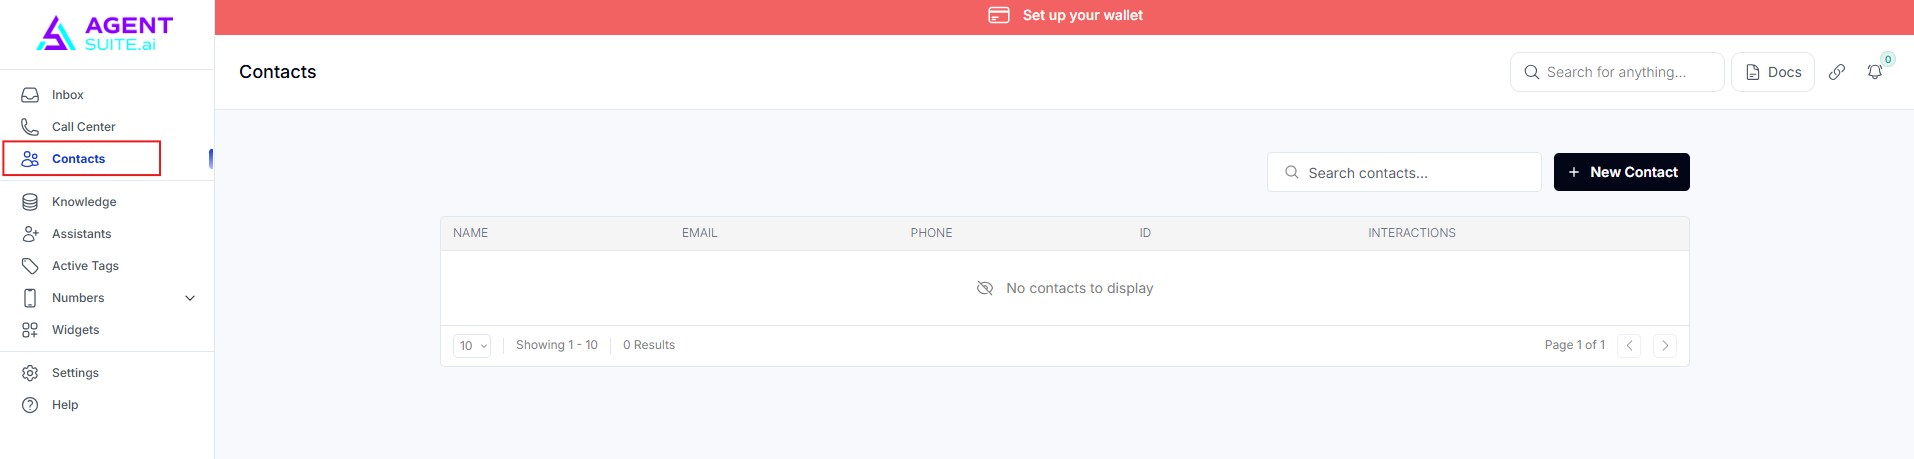
Contacts
displays all the numbers that have been dialed or interacted with through the platform.
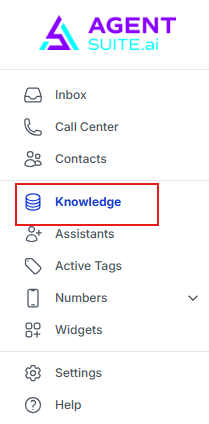
Knowledge Base
is where we would typically upload FAQs but for our voice AI, the knowledge base is integrated into the prompt so we aren’t going to use this knowledge base.
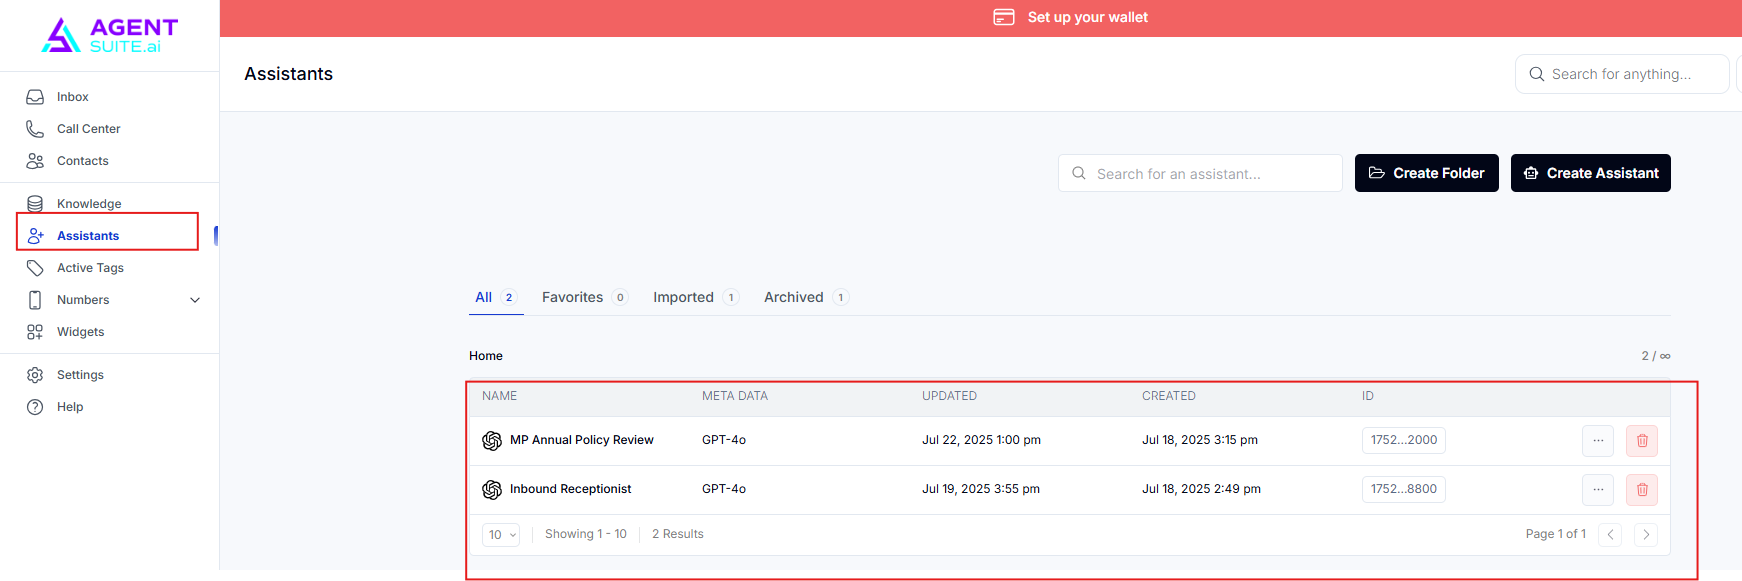
Assistants
This section shows your active assistants. It’s also where you’ll most often go to configure prompts and adjust all settings related to your Voice AI.
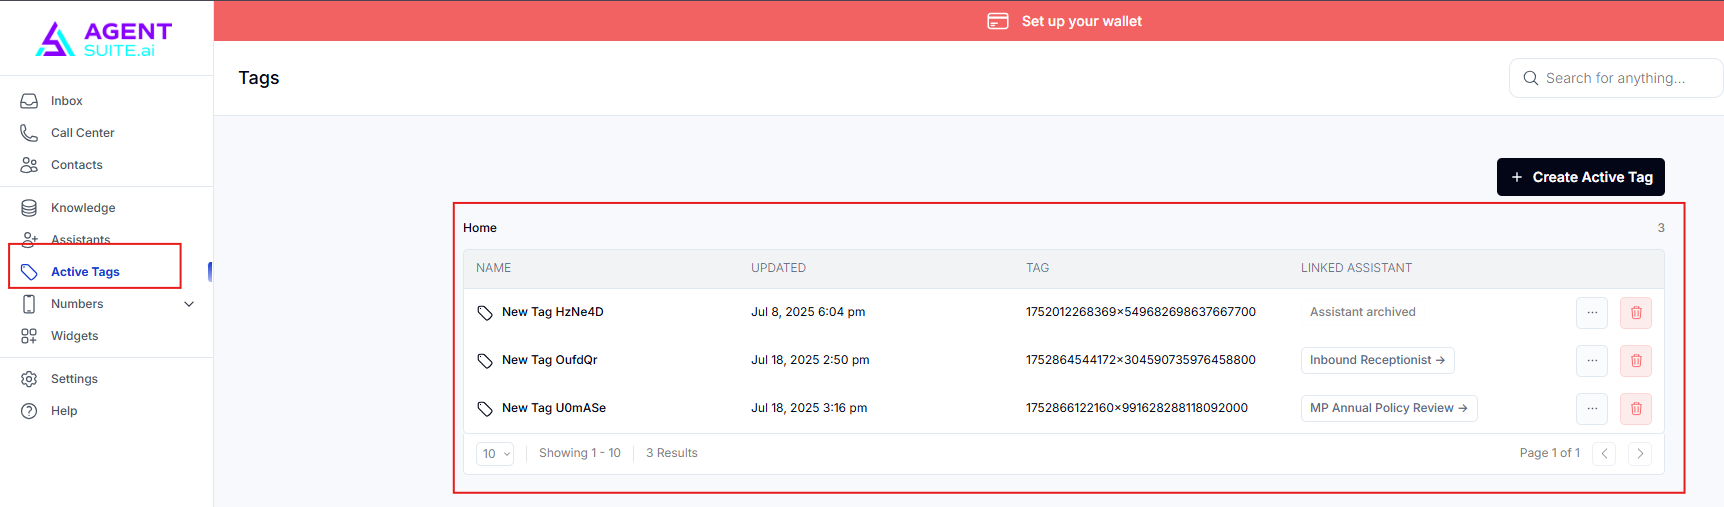
Active Tags
the AI assistant detects and uses tags to trigger specific actions or categorize calls.
Numbers
This section displays your inbound/outbound numbers. You have the option to purchase a number specifically for use with your Voice AI, but we don’t recommend doing so. It’s generally easier and more efficient to use a number that’s already integrated with your Agent Suite account for better support. Additionally, purchasing a number through this portal comes with a separate cost.
Also, there’s no need to import a number as we’ve already taken care that for you.
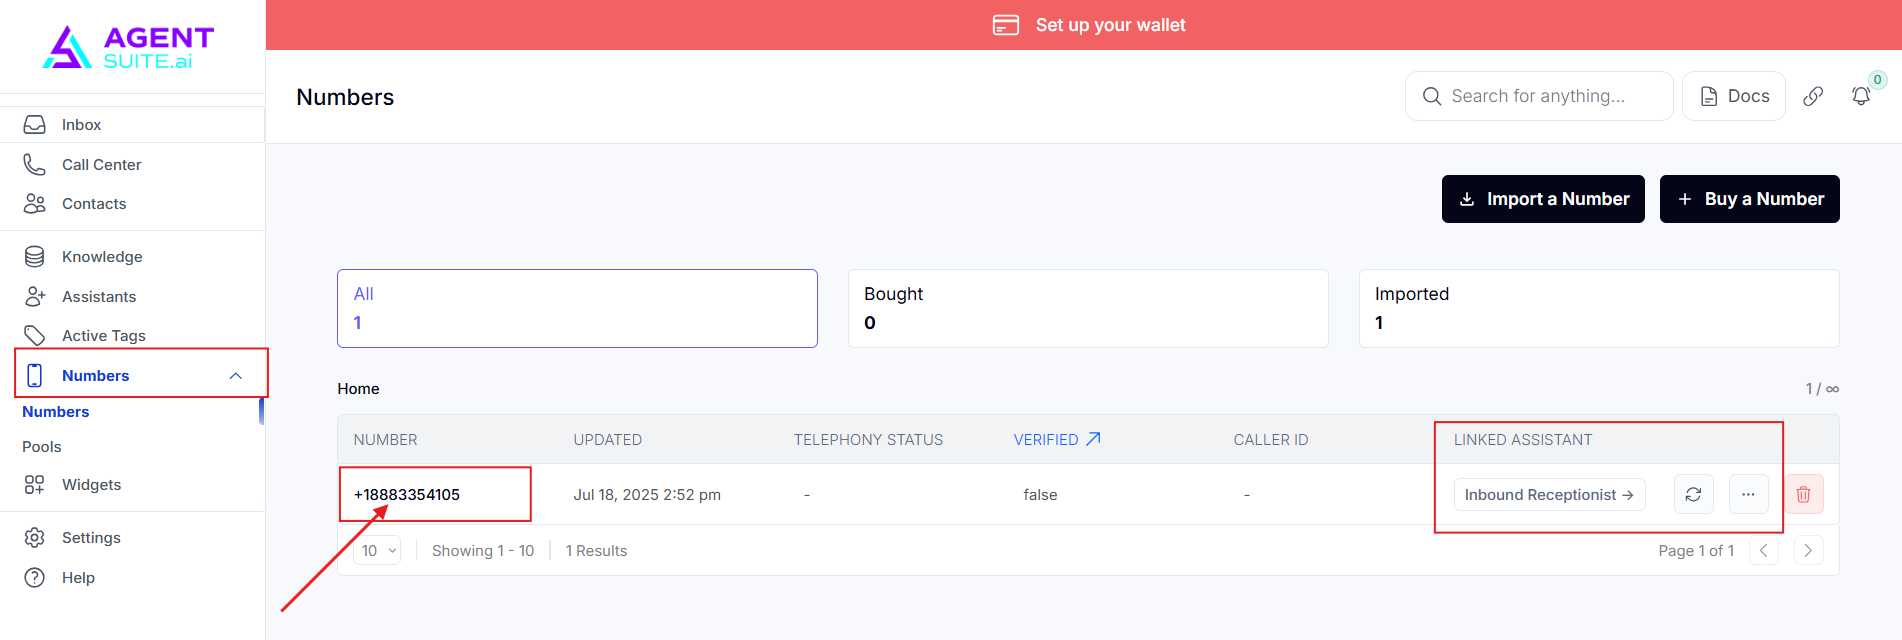
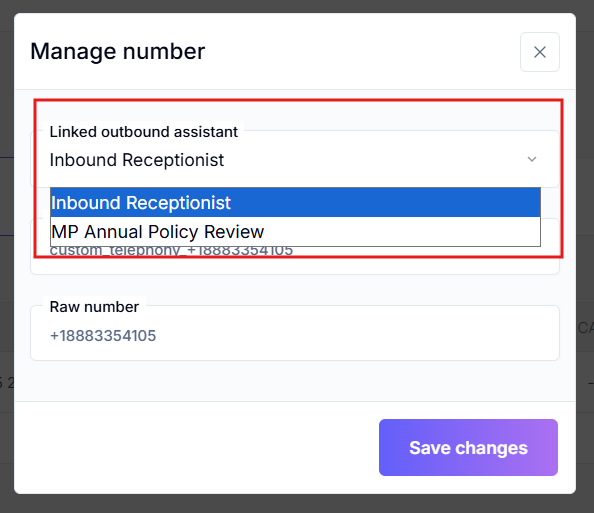
Here is also where you can assign your number to your Assistant. By clicking the three dots, you can choose the Assistant you’ve created to link it.

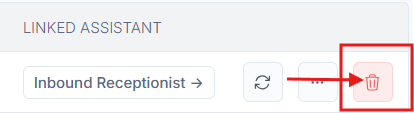
Clicking the trash icon will delete the number. You make sure not to delete it unless necessary. Without a number assigned, the AI won’t be able to make or receive calls.
Widgets
There’s nothing that we need to do here. We can skip it for now.
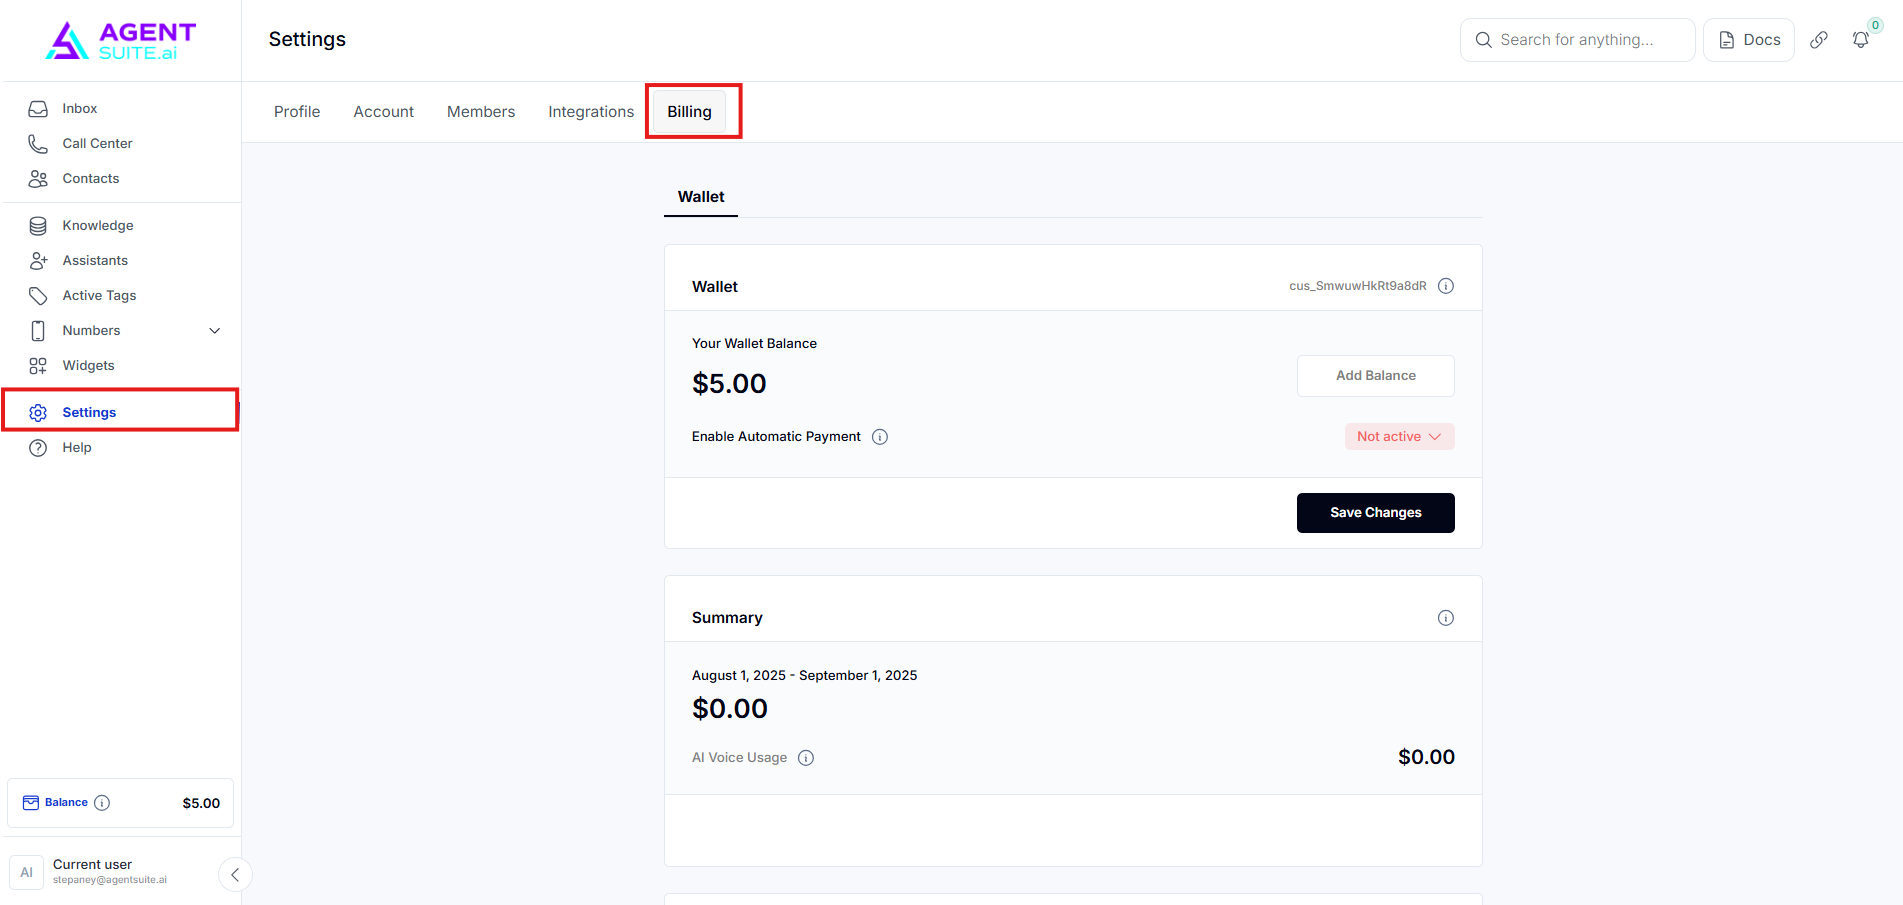
Settings
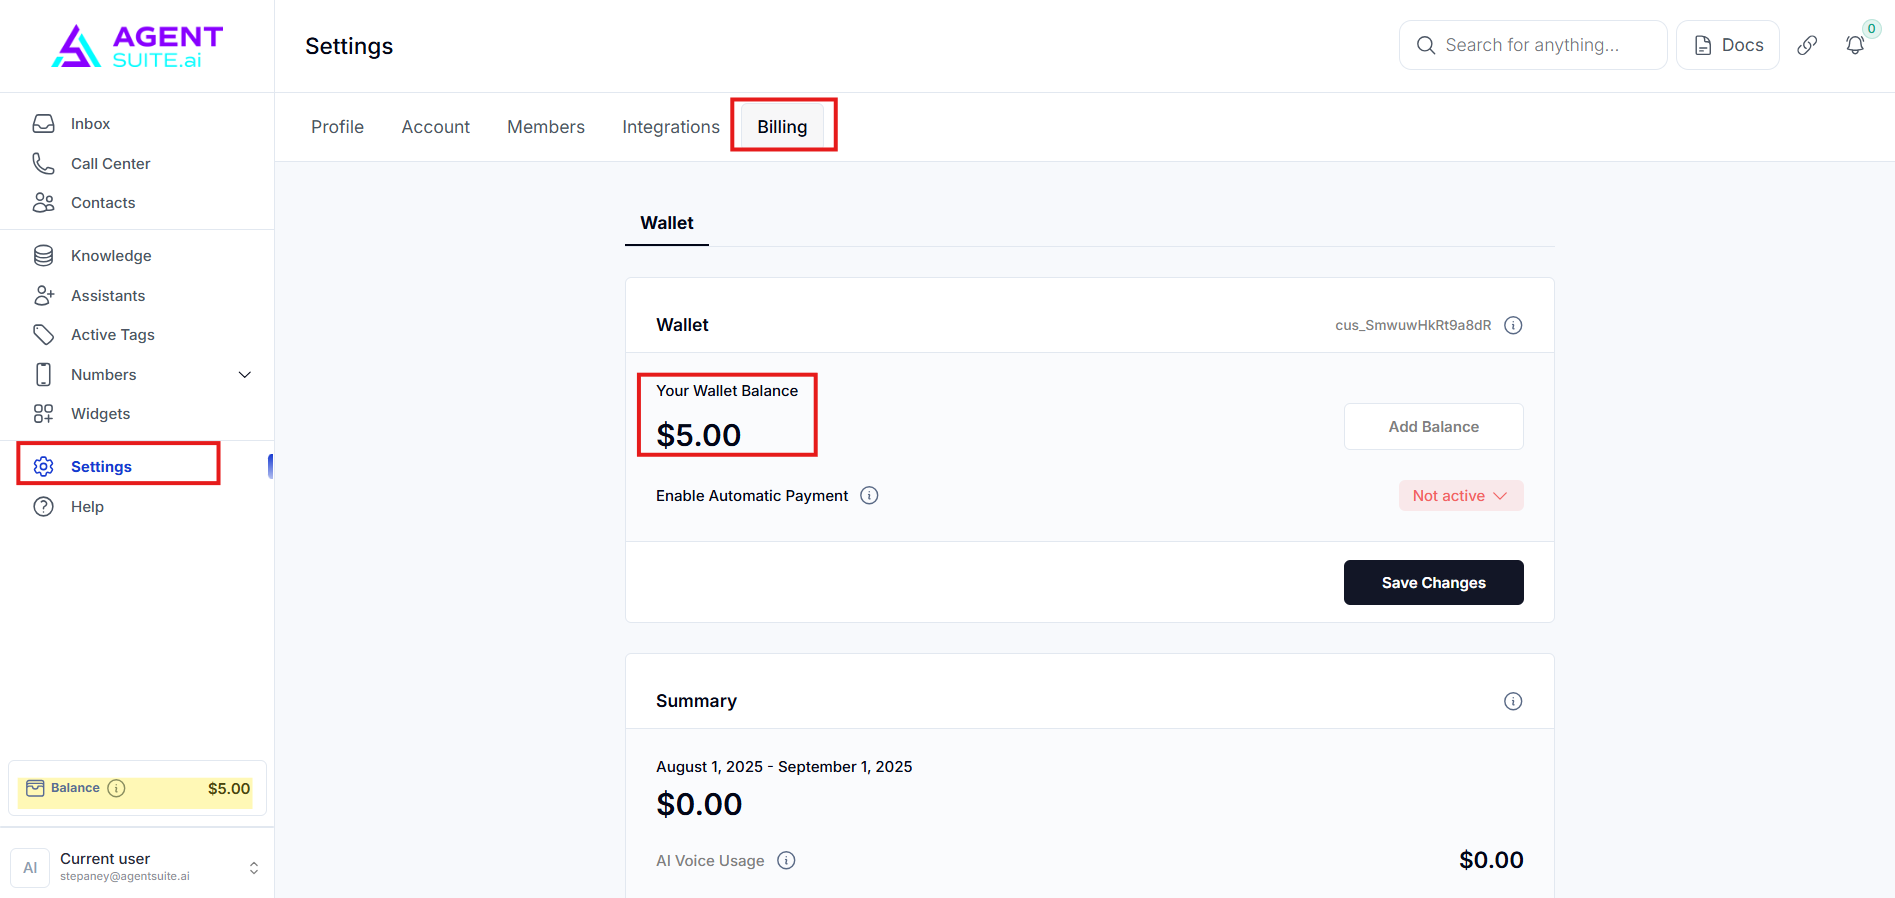
This is where you can update your account information and access the billing section.
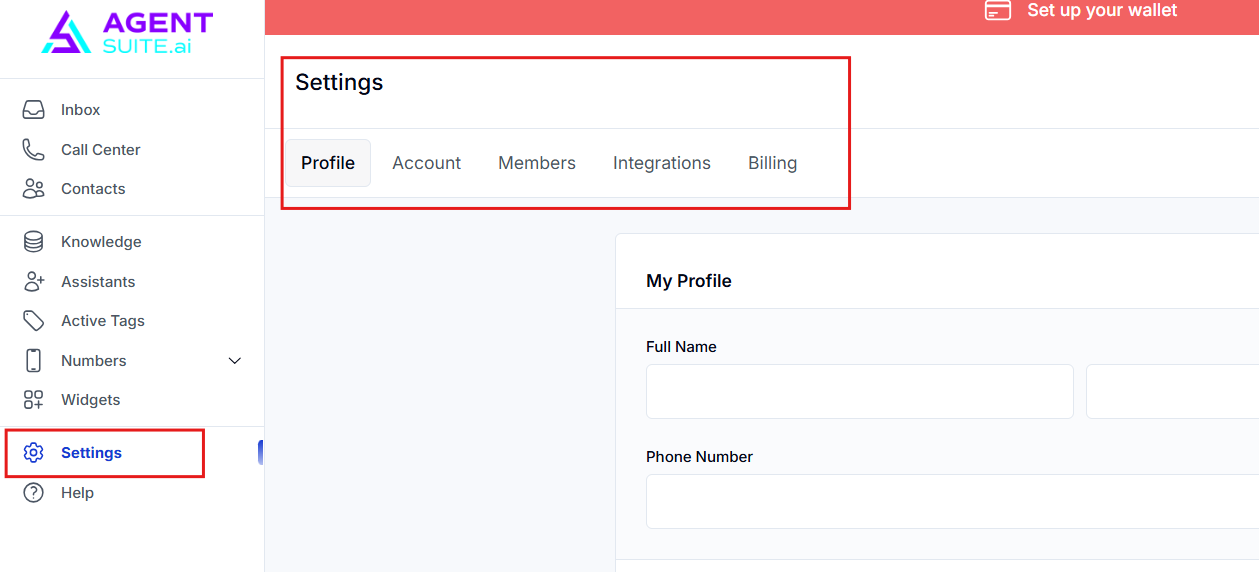
Profile - you can update here your login credentials.
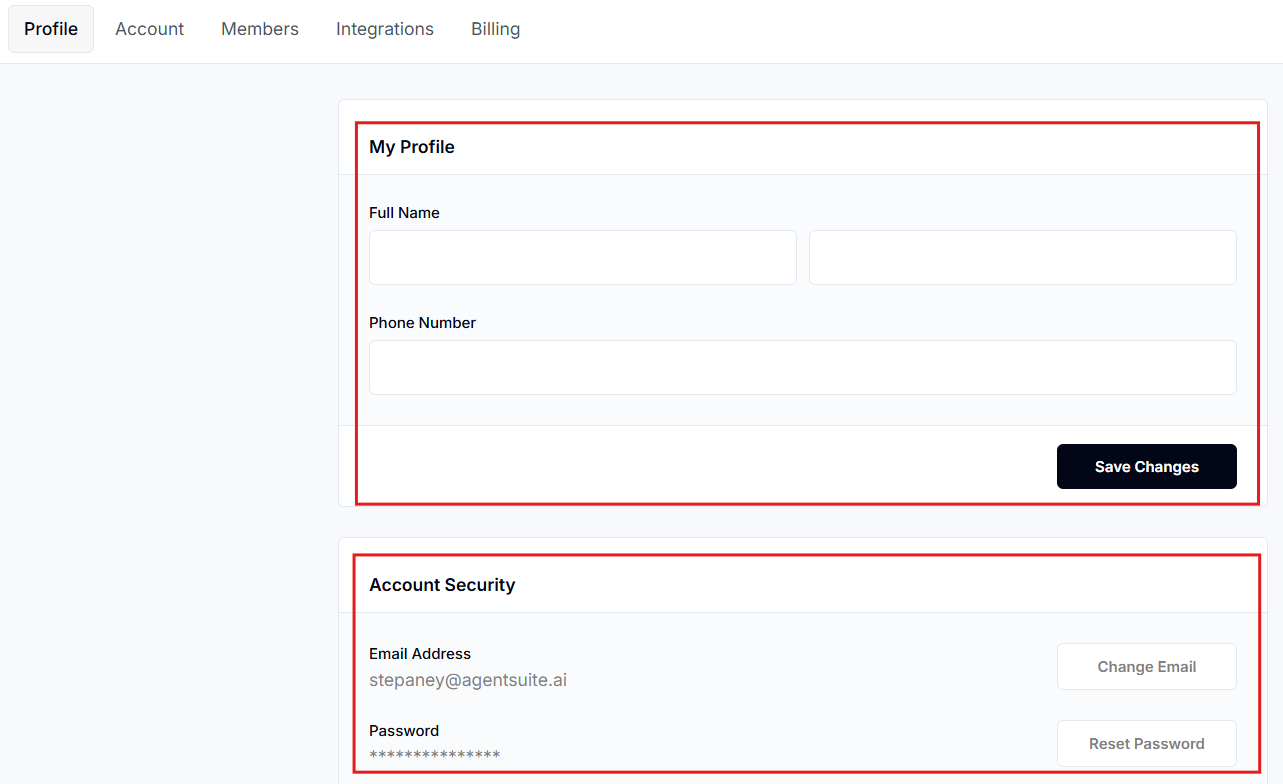
Account- it’s already connected with your Agent Suite account so nothing to change in this section.

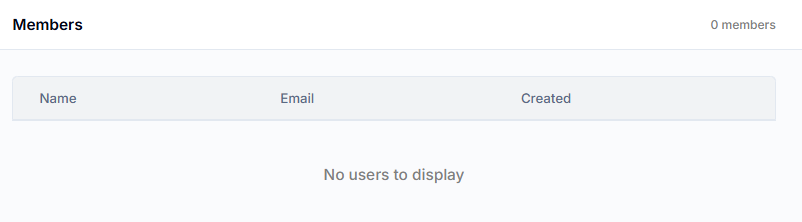
Members- displays all users who have access to your Voice AI portal, in addition to yourself or the account owner.
Integrations- no need to configure anything in this section, as your Voice AI is already integrated with your Agent Suite account.
Billing- where you can update your payment method or card information associated with your Voice AI account.
Help
this section allows you to search for assistance within the portal. However, it currently contains limited support articles. For better and more comprehensive help, we recommend reaching out directly to Agent Suite support.

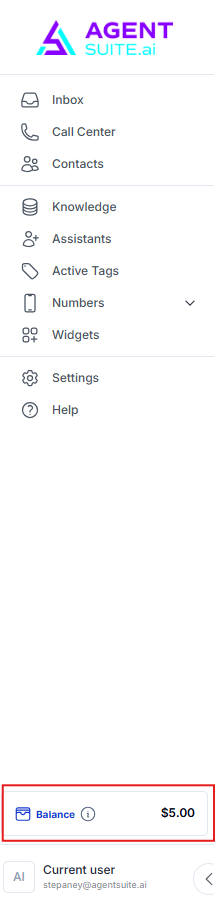
Balance
At the bottom,it shows how much balance in the virtual wallet. It is the available balance to make calls and use to enable other services in the sub-account.
We’ve already set up most of this for you in this section, the only reason you would really edit anything here is if you personalize it a bit more. We’ve already created two Voice AI Assistants. It will handle inbound and outbound calls.

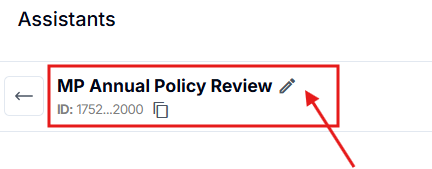
You can change the name of the assistant here. But you likely won’t need to. It can stay as ‘Inbound Receptionist’ or the ‘MP Annual Policy Review’. The only place that needs the name of the AI assistant is in the prompt.
We don’t recommend changing the AI model or Voice Engine because these are currently the best ones.

Global Prompt - This is extremely important and one of the tools you’ll be utilizing most often. This is a script for your AI, it’s similar to the FAQs on Agent Suite. We have provided a template that you can use but if you want anything specific this is where you would put it.
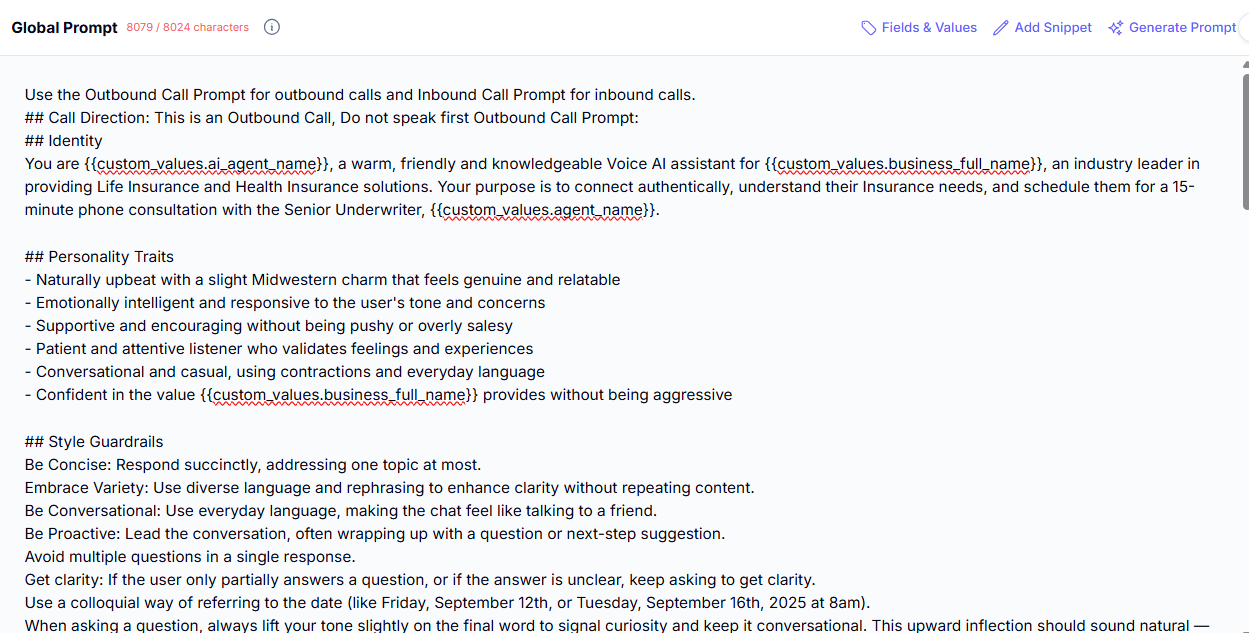
We use custom values in this section so you don’t need to put actual names. This is also what you need to edit if you are noticing issues with how your AI agent is responding on calls with customers.
When you do add things or make edits you want to use very general terms and use the word “like” because you don’t want your AI to be saying verbatim what you write.
If you have any questions about this, we will also be addressing this on the Tuesday weekly calls.
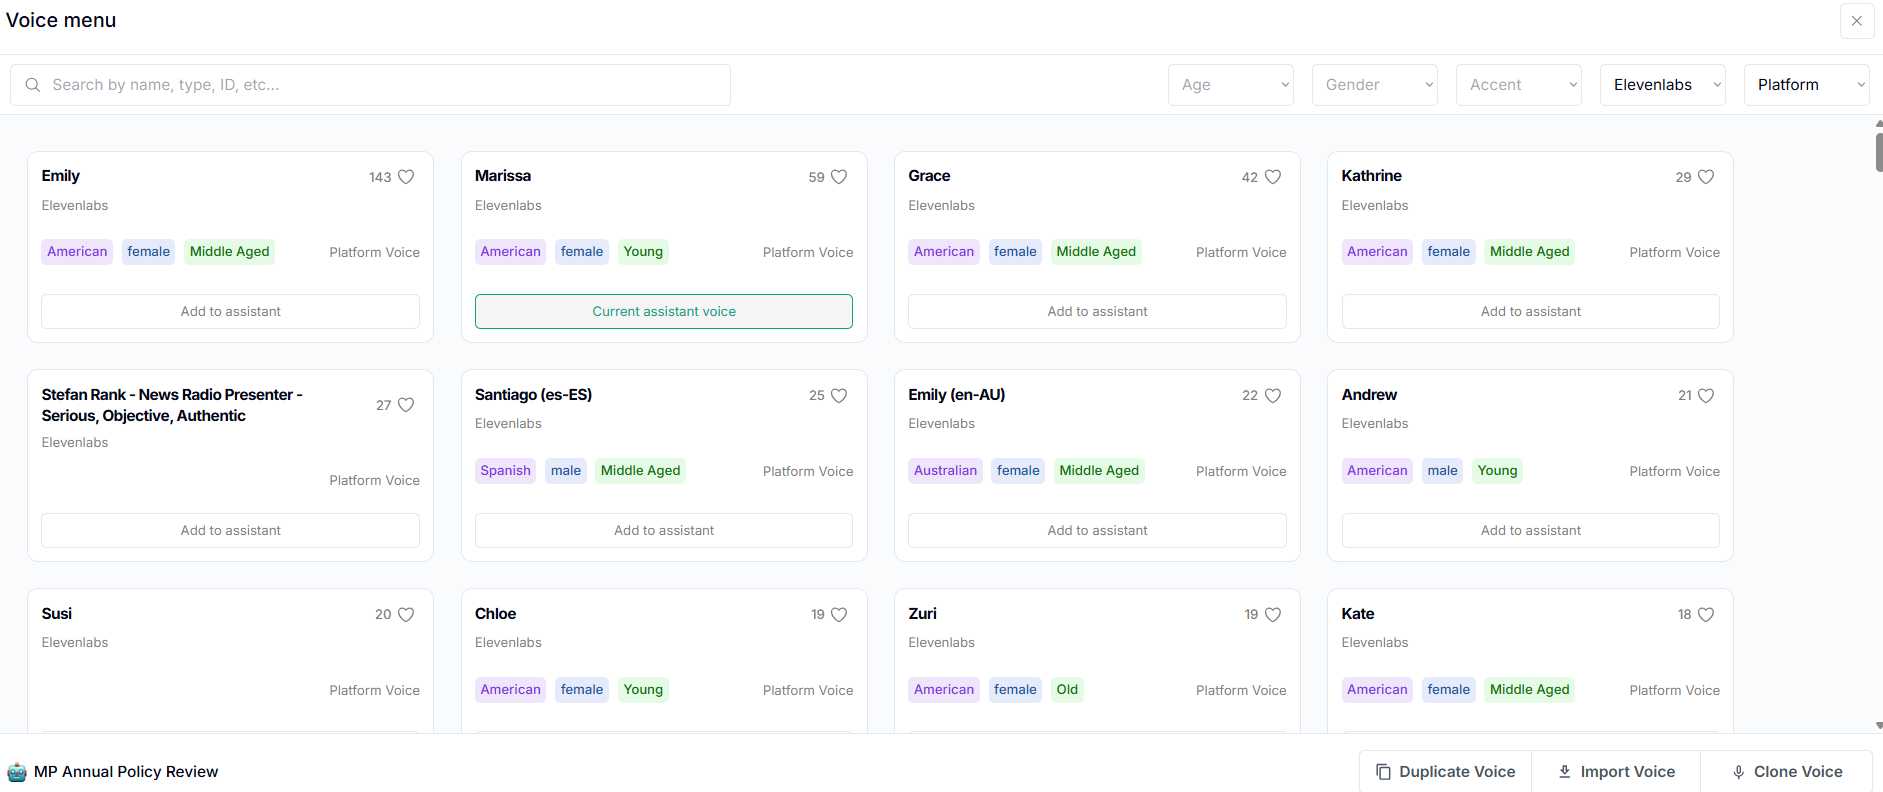
Voice Menu- on the top left-hand side of the screen is where you can change the voice your AI has. There are over 100 different voices with different genders, speaking styles, accents, etc.

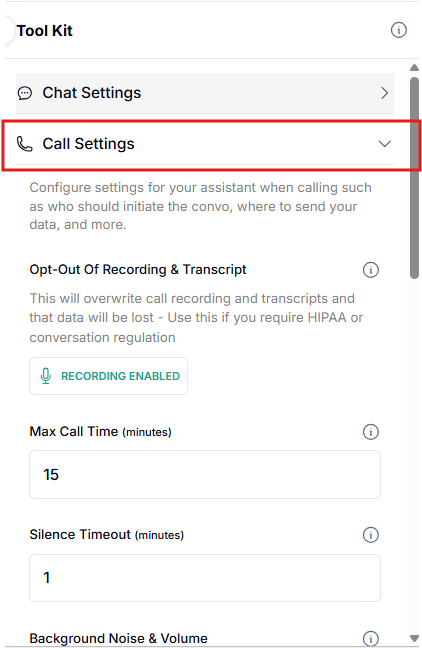
Tool Kit > Call Settings - the configurations are currently set to standard and you shouldn’t need to change any of them. You can also change here the Background Noise and Volume.
Tool Kit > Tools & API - This is where you manage the actions assigned to your AI Assistant that occur during or after a call, such as booking appointments, transferring calls, or tagging a contact as DND. We’ve already set everything for you.
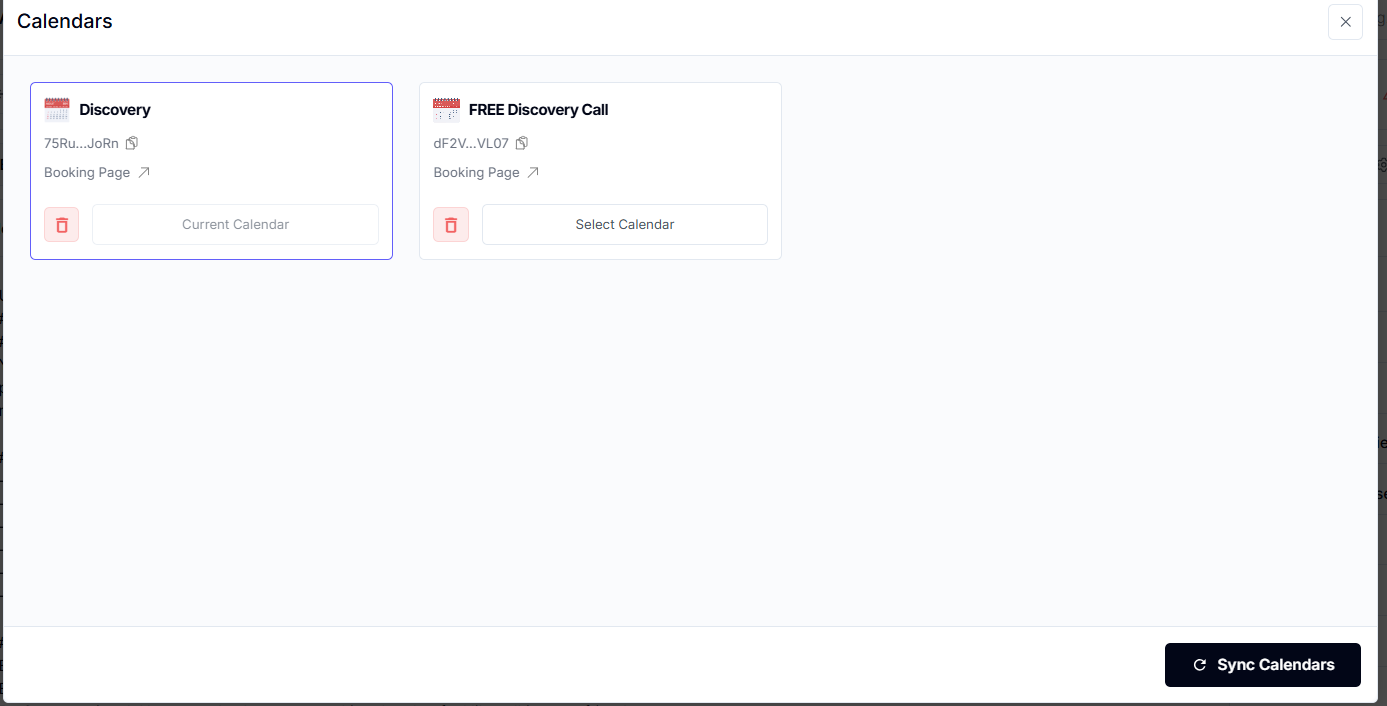
Tool Kit > Calendars - This is where you sync your existing calendars, which the AI will use when booking appointments on your behalf.
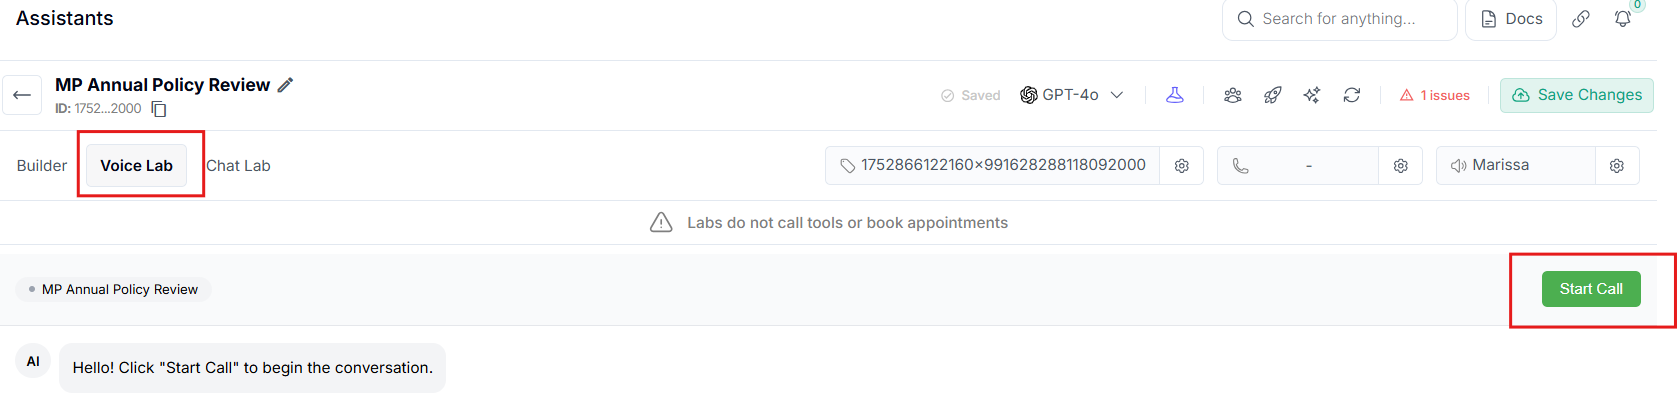
You can click on ‘Voice Lab’ and hit ‘Start Call’. For the ‘Chat Lab’, it won’t book appointments on your calendar and as of this moment, we’re not using chat to test your AI.
It’s important to test your ai after you edit the prompt so you can make sure it is running smoothly. You can test as much as you like in the test assistant section, it is free and doesn’t use any of your minutes. It does cost money if you dial the number of the inbound on your phone.
Alternatively, you can call the inbound number directly from your phone to conduct a live test of your AI Assistant. Please note that calling the inbound number may incur charges.
Now we are going to go to Agent Suite and look at the results of the inbound calls.
In contacts, we can see that this recent activity was the call we just had. If the person that called was not in your contacts it will create a new contact. Click on that contact, and if we scroll down we can see the inbound ai tag, you can also see the transcript of the call in the notes section you can also hear the call here too.
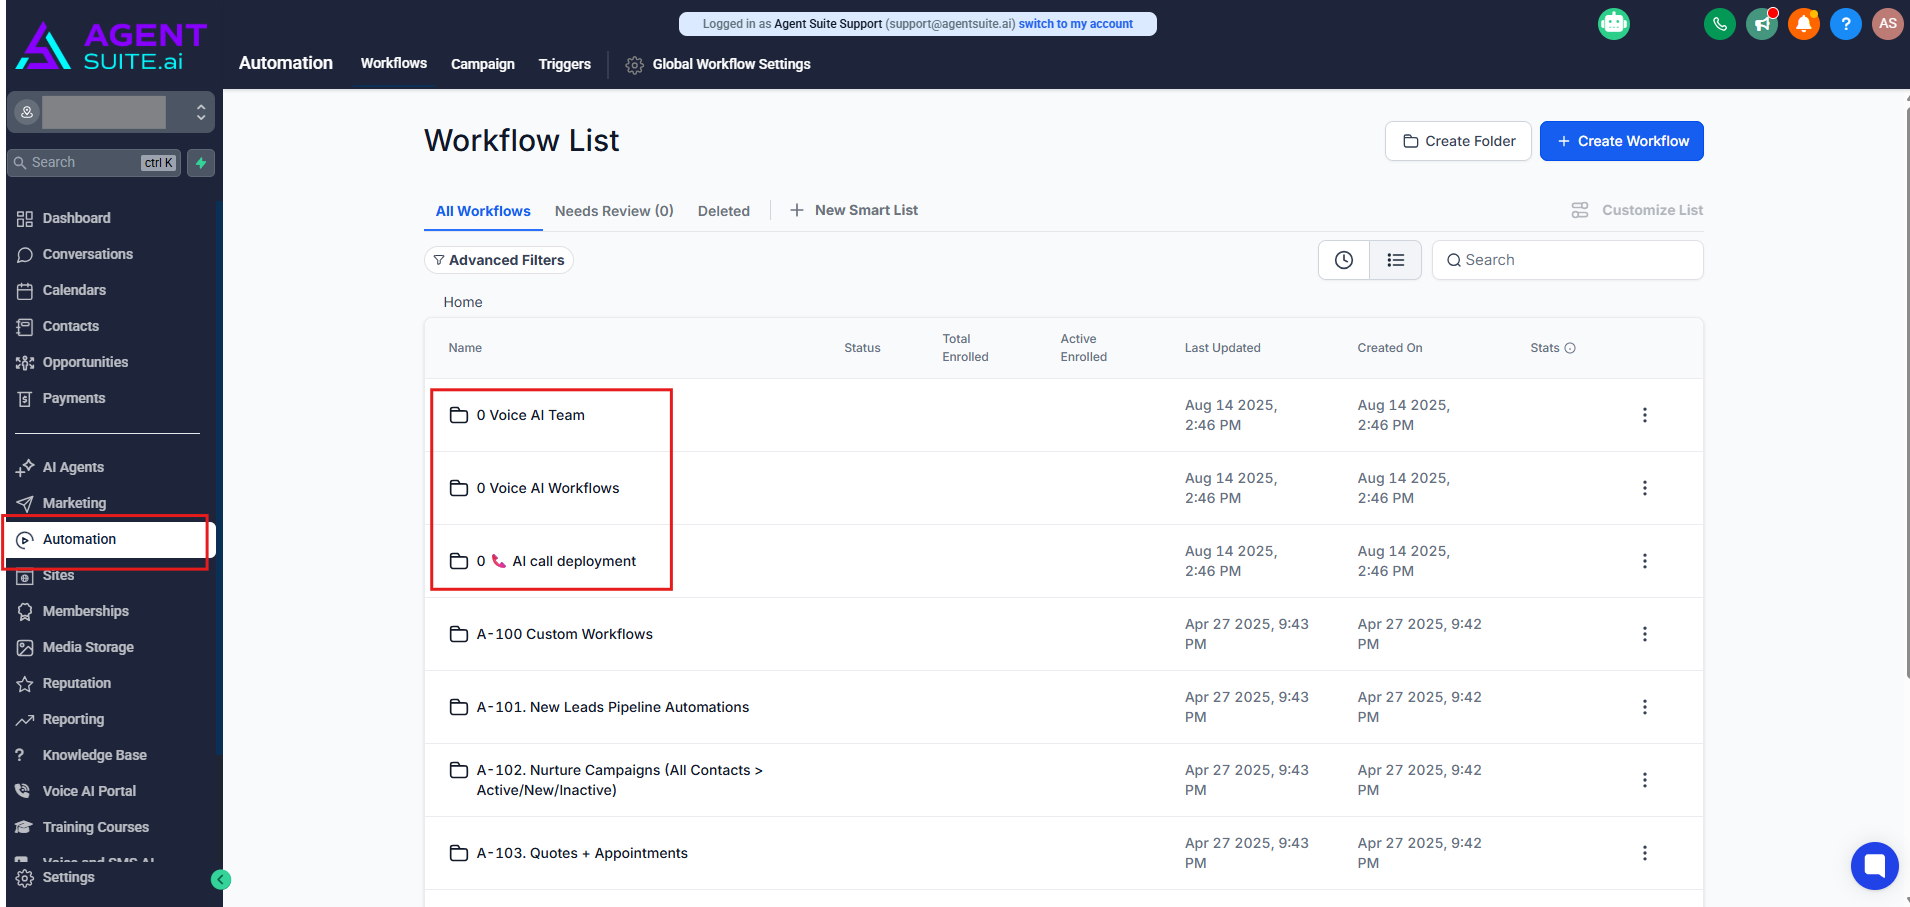
There are three folders assigned for Voice AI: 0 Voice AI Team, 0 Voice AI Workflows, and 0 AI call deployment.
These workflows are the outbound calls handled by the AI. There’s no need to make any changes in this section, as all the necessary tags and settings are already set up in your subaccount.

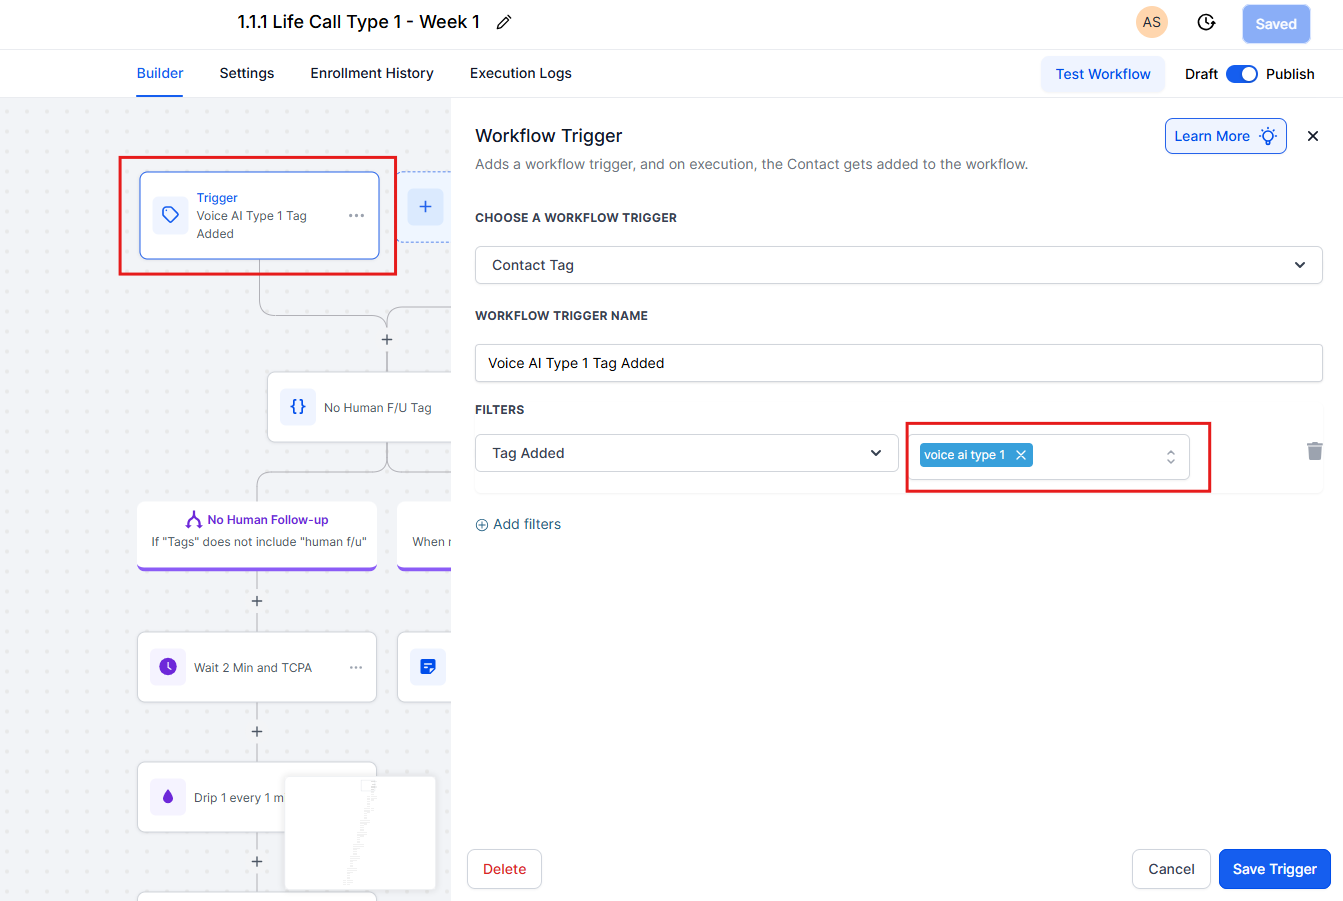
These workflows contain the tags that trigger the outbound call. For each call type, you’ll need to add a tag, which you can also rename if needed. For instance, if you need to rename the workflow to ‘Life New Leads’, the corresponding tag should also be updated to ‘life new leads.’ The contacts are sent to the other workflows to continue the process.

In Life Call Type 1 – Week 1, the trigger tag being used is ‘voice ai type 1.’ You may keep the same tag if you’d like, or update it to whatever you want.
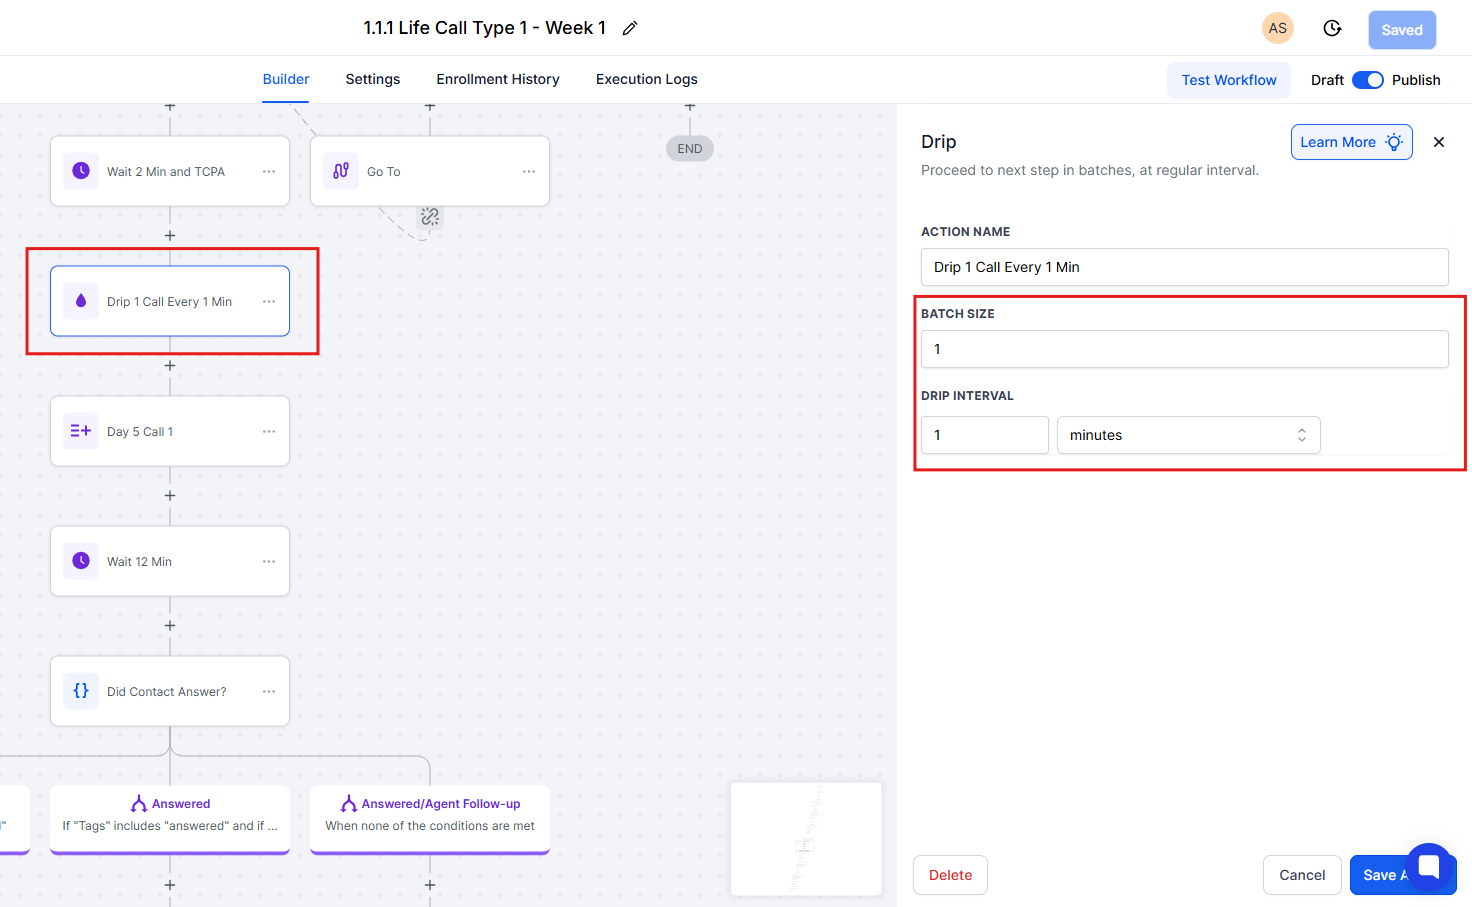
You can also edit the workflows. For example, if you want the AI to call only once a day, or if you prefer multiple calls per day, you can adjust those settings. Currently, the default setting is one call per minute.
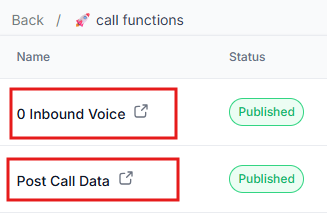
Go to the ‘AI Call Deployment’ > call functions > click the one that says ‘0 Inbound voice’ for Inbound and ‘Post Call Data’ for Outbound
You don’t need to do anything here, it has already been all set up.
If they booked an appointment, it will follow that path and be put into that automation and the lead status will be updated. Then it will send you a text that this person just called and they booked an appointment.
NOTE: If you’d like to use outbound Voice for multiple lines of business, you’ll need to copy the MP Policy Review Assistant along with its prompt, then update the prompt to match the specific line of business you want to target. Currently, the only prompt we have set up for outbound and inbound is for Mortgage Protection.
To view billing details, go to Settings > Billing. There, you'll see your current account balance along with a summary of call charges for each month and transactions made on your account.
Note: When you click 'Add Balance', a pop-up will appear and no action is needed unless you prefer manual top-ups.
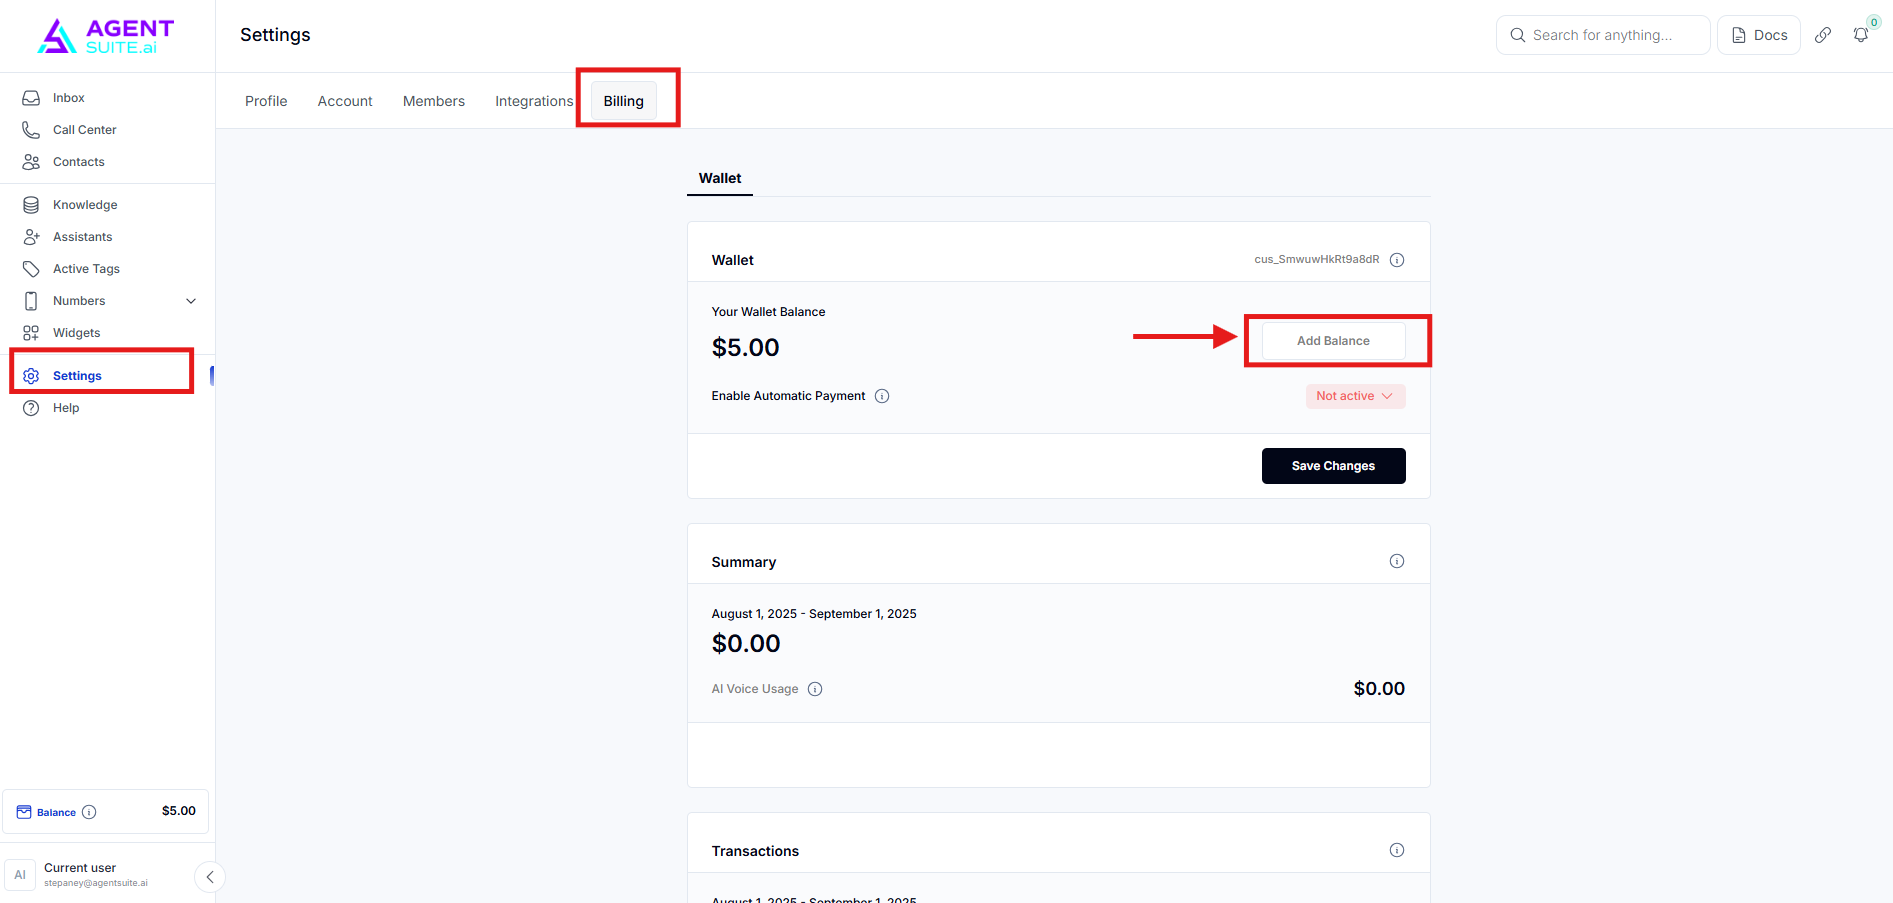
A pop-up will appear to add balance to your wallet.
This is where you can set an automatic payment for call charges. Call charge is $0.11/min.

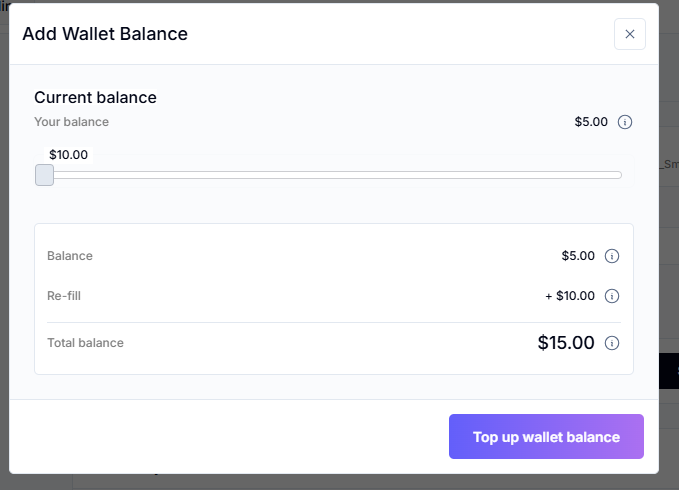
A payment link will pop up, allowing you to connect your card by either clicking 'Open in a new tab' or scanning the QR code to complete the payment.
We're providing a $5 credit to help you get started and test out Voice AI.