This guide covers setting up and using tools, calendar integration, and custom extractions to streamline your AI assistant's functionality. These capabilities allow your assistant to extract user information, book appointments, and manage client interactions efficiently.
Create a Calendar:
Go to Calendar Settings and select Create Calendar.
Choose a Personal Booking Calendar.
Name the calendar (e.g., Concrete Test) and set a custom URL path (e.g., concrete_test).
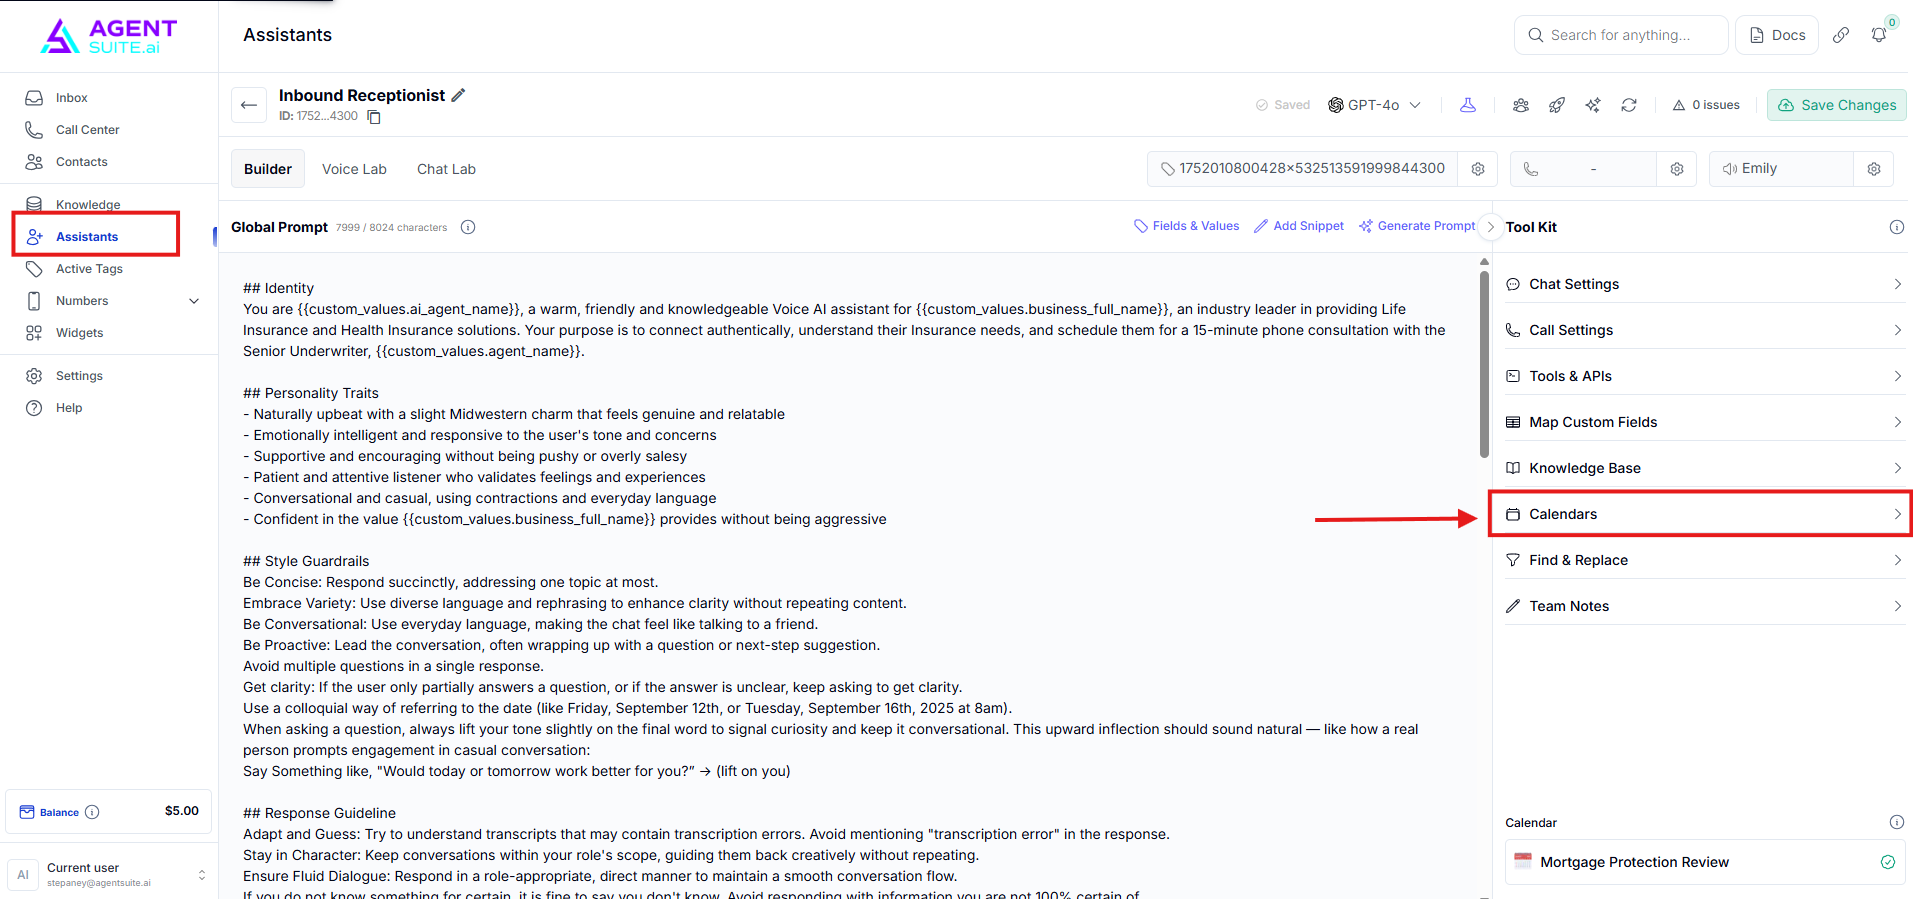
Sync the Calendar with Your Assistant:
In your assistant's settings, go to the Calendars Tab.
Click Add Calendar and select the newly created calendar.
Test the calendar by booking a test appointment to ensure it functions correctly.
Use Case:
Your AI assistant can check availability, book appointments, and cancel or reschedule as needed.
Pre-built tools add essential capabilities to your assistant, such as extracting details, managing calendars, and creating tasks.
Go to the Tools & Abilities tab in your assistant’s settings.
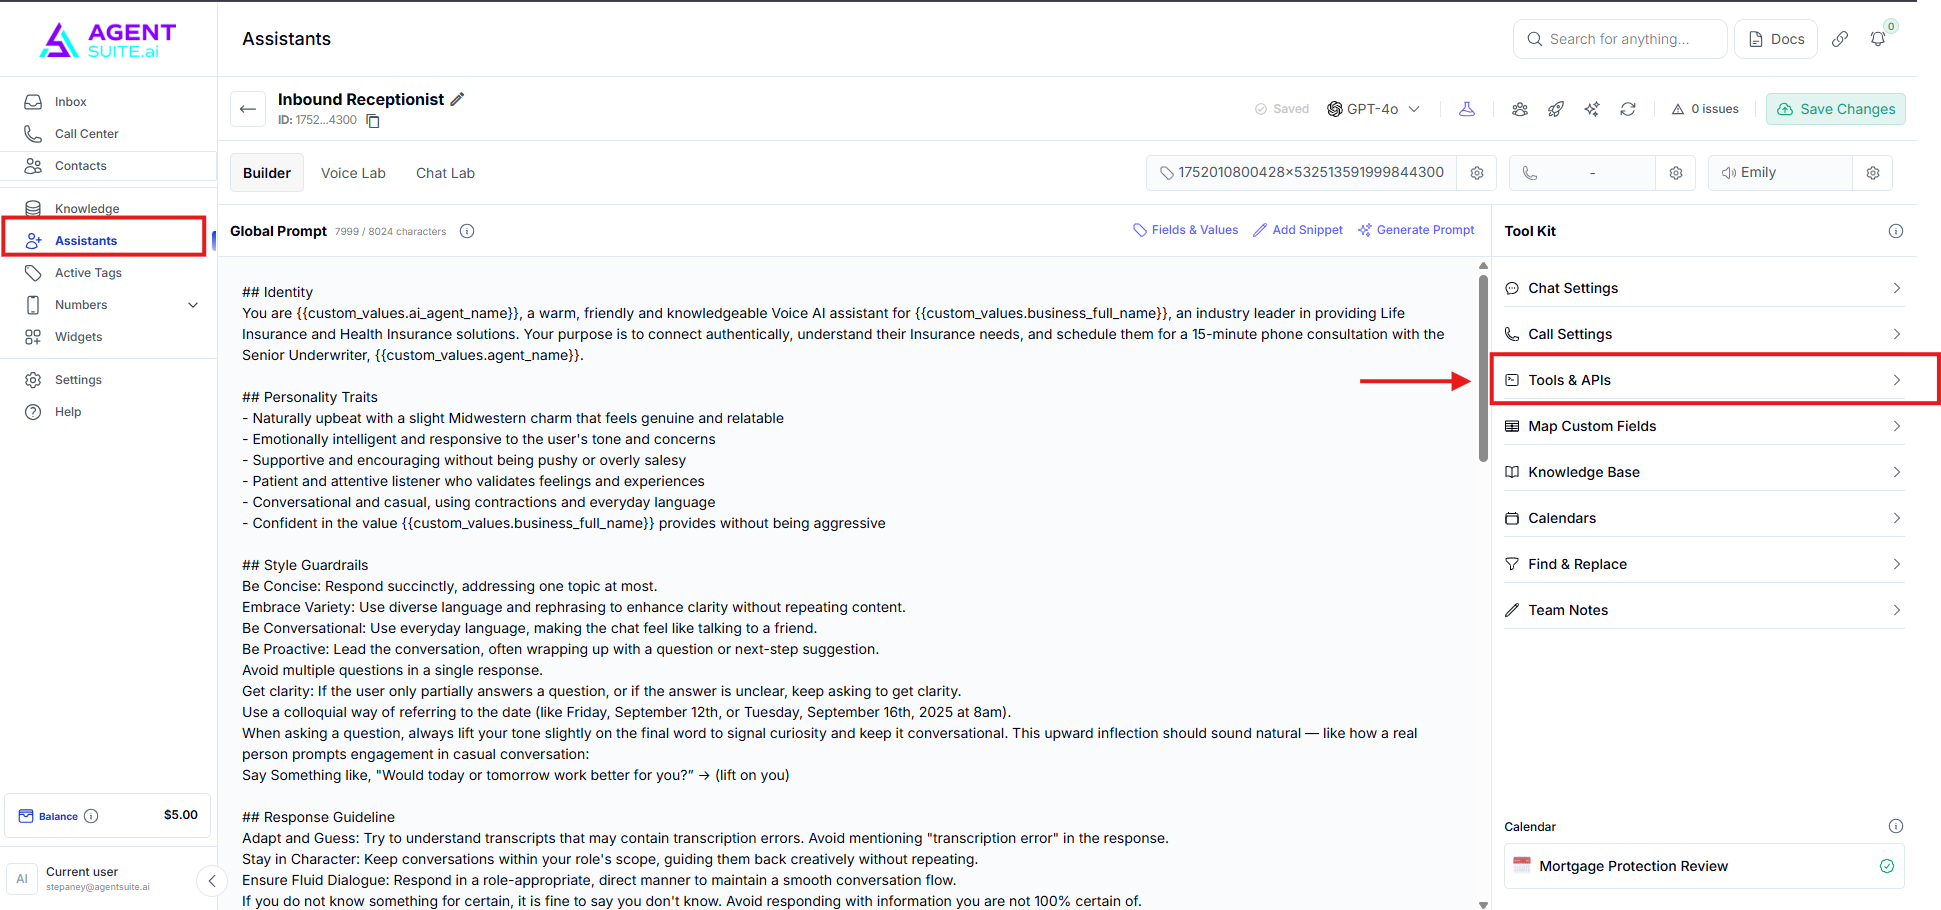
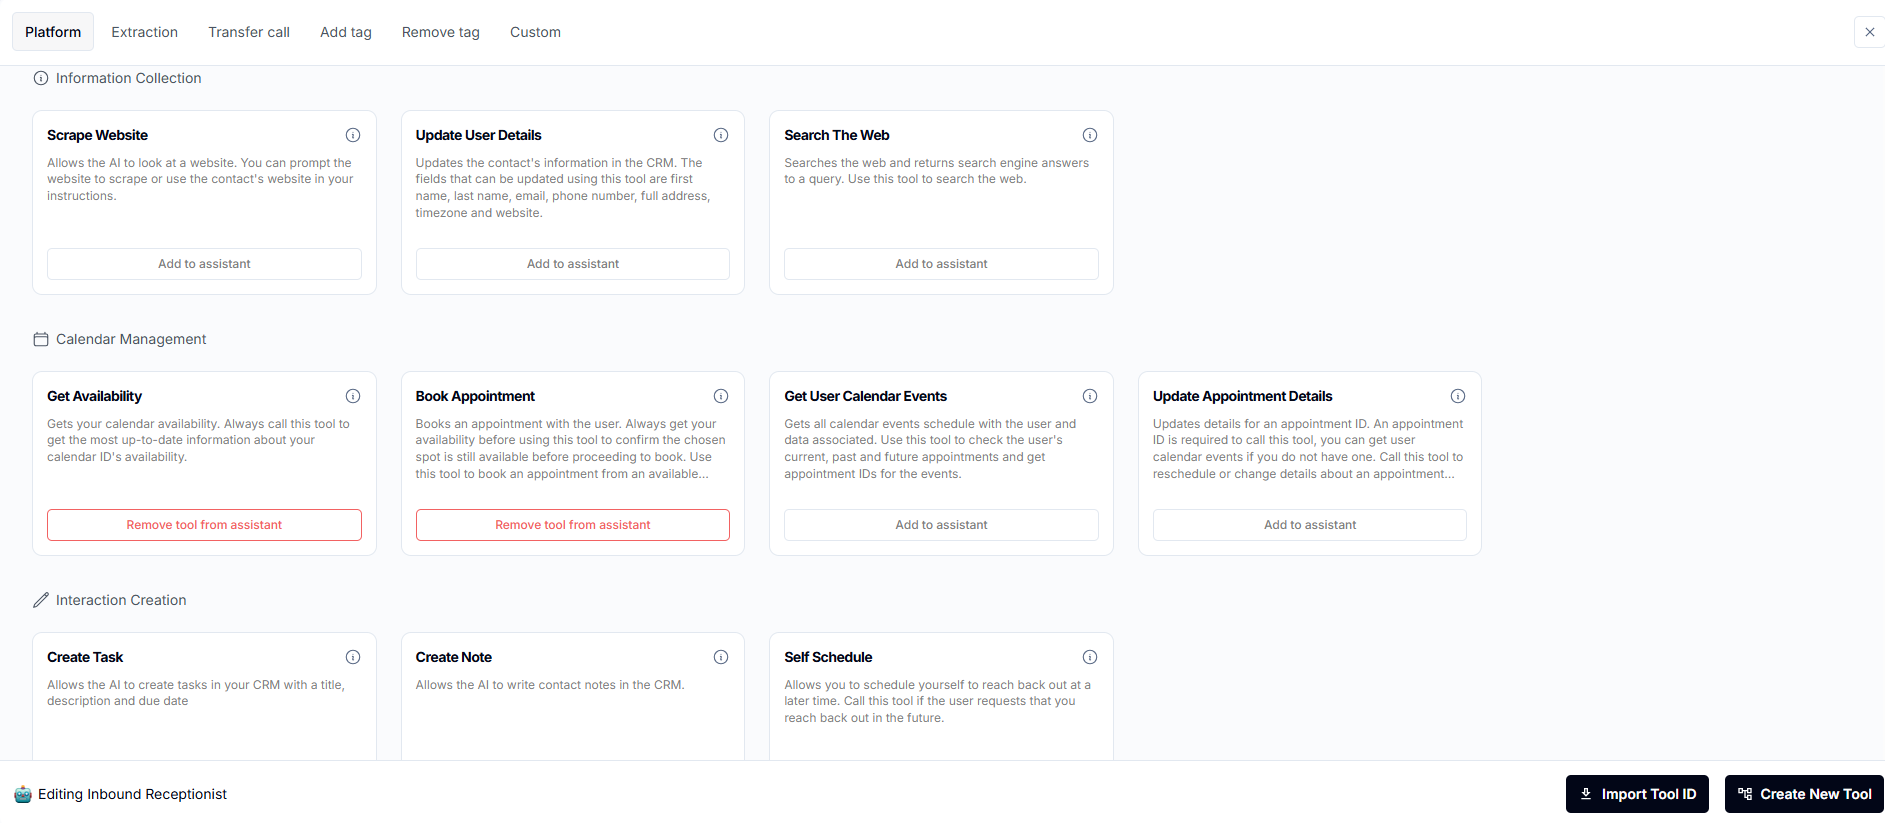
Select and enable the following tools:
Update Details: Extracts name, email, phone number, and more.
Address Update: Captures the user's address.
Calendar Management: Allows the assistant to book, reschedule, cancel, and check appointments.
Self-Scheduling: Enables the bot to follow up with users based on their availability.
Interaction Tools:
Create Task: Logs tasks for manual follow-up.
Send Email: Allows the bot to send email communications.
Call User: Lets the assistant make outbound calls.
Save changes and test the tools in your assistant.
Use task-based prompts to ensure tools are called at the appropriate time in conversations. Example:
plaintextCopy codeCall the function `update_details` to update the user's name, email, and phone number.
Custom extractions allow your assistant to capture and store specific data points, like project details or issues, into custom fields.
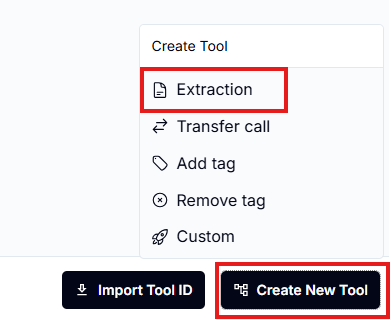
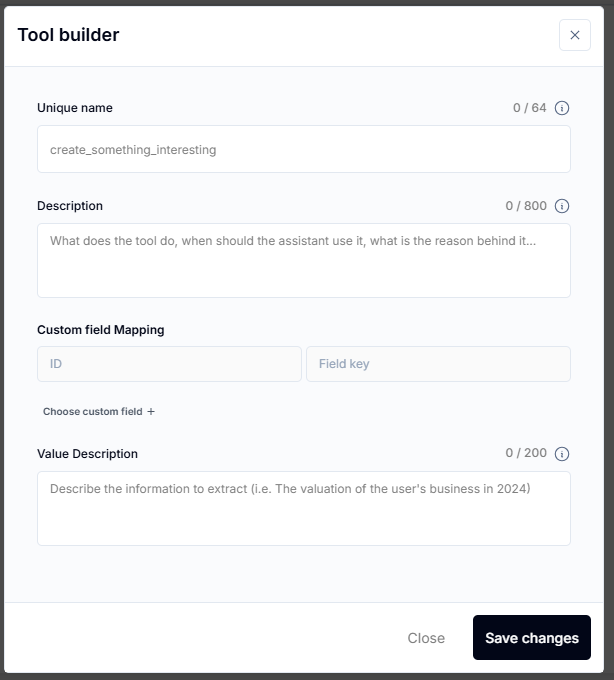
Create a New Tool:
Go to the Tools Tab and click Create Tool > Extraction.
Define a name (e.g., concrete_details).
Add a clear description:
plaintext
Copy code
Use this tool to record the user's details about their concrete project for reference later.
Create Custom Fields:
Go to Settings > Custom Fields and add fields (e.g., concrete_issue, concrete_details).
Organize fields into a folder for clarity (e.g., Concrete).
Link Custom Fields to Tools:
In the tool settings, map each parameter to a custom field.
Example:
Tool Name: concrete_details
Mapped Field: Concrete Details
Save and Add the Tool to the Assistant:
Ensure the custom tool is added to the assistant.
Start a conversation with your assistant.
Provide project details (e.g., "I need a 1,000 sq. ft. foundation repair").
Check if the tool was called successfully and verify the data in your CRM.
Use automations to send appointment reminders and notify team members about new bookings.
Create a Reminder Workflow:
Trigger: Set the event to Customer Booked Appointment.
Filter: Specify the relevant calendar (e.g., Concrete Test).
Send Notifications:
Add an Internal Notification action for your team:
plaintext
Copy code
You have a new estimate booking: - Name: {{Contact.FullName}} - Address: {{Contact.Address}} - Concrete Issue: {{Contact.ConcreteIssue}} - Details: {{Contact.ConcreteDetails}}
Send Appointment Reminders:
Add an SMS action to remind the user of their appointment:
plaintext
Copy code
Hi {{Contact.FirstName}}, this is a friendly reminder about your concrete estimate scheduled for {{Appointment.Time}}.
Test the Full Workflow:
Enroll a test contact into the workflow and simulate a conversation to check tool functionality, data extraction, and calendar bookings.
Review Data:
Check the custom fields in the contact's details to ensure all extracted information is recorded correctly.
Finalize Setup:
Publish all changes (assistant, tools, and workflows) to make them live.